Scraping Data from a Website
| Purpose | The objective of this Business Case is to show clients how scrape data from a specific website, store it and visulise it via tables and or insight panes. |
|---|
| Created | September 10, 2024 |
|---|
| Components Used | Description |
|---|---|
| Raven Playbooks | Playbooks allow you to create automated workflows by dragging and dropping Bricks into a canvas and connecting them together. Meaning they automate actions based on events. |
| Raven Flows | Raven Flows is an app that helps users to perform Extract, Transform, and Load (ETL) operations on events. |
| Raven Tables | They enable you to structure the data in a tabular format, facilitating easy manipulation and retrieval. |
| Raven Query | A Query provides a means to index Tables and Brick data using PostgresSQL and PRQL languages. This querying process allows you to extract specific data subsets as needed. |
| Raven Insight Panes | provide a user-friendly way of visualizing the Tables you have created. Rather than displaying data in the traditional rows and columns format, Panes offer an attractive visual overview. |
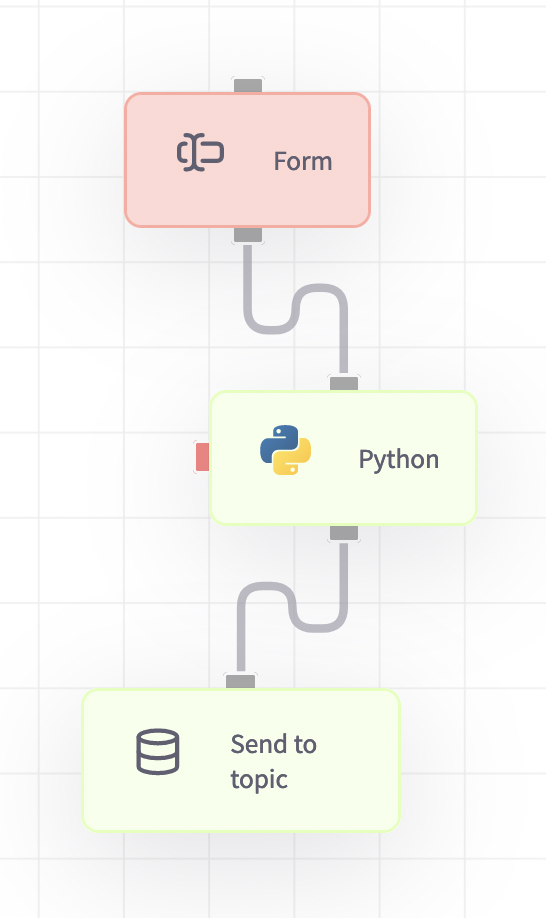
| Forms | These Bricks are employed to manually trigger the Playbook. They operate by connecting the output and dragging the arrow to the new Brick. |
| Python Brick | These bricks are made to run specific Python scripts, so that users can take advantage of all the functions and libraries that Python has to offer for a great number of operations. |
| Send to Topic Brick | Acts as a bridge between two applications in the Raven Portal: the Playbook App and the Flows App. This Brick facilitates the seamless transmission of information from a playbook to a flow. |
Part 1
Flow setup
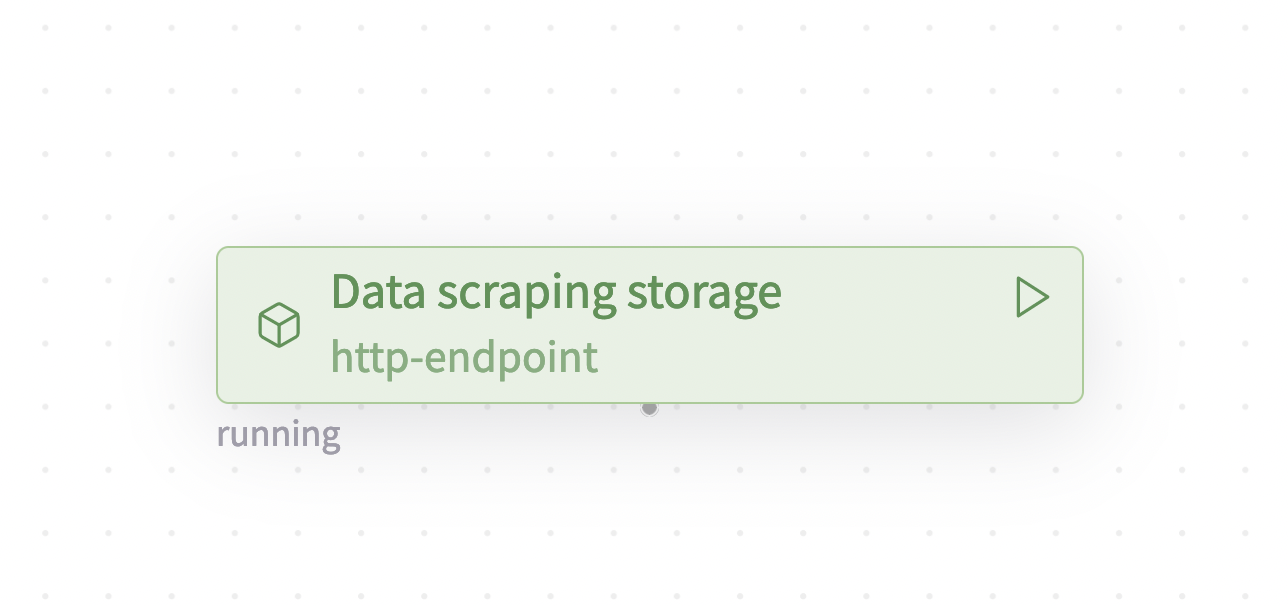
Create Flow
Go to the Flow App, where you can view all existing flows and have the option to create a new one.
Add and Configure Endpoint Brick
Click the "Add Brick" button in the top left corner, use the search bar to find the HTTP-endpoint, and add it to the flow.
After saving the flow, additional information about the brick will become available when you select it in the pane on the left side of the flow.
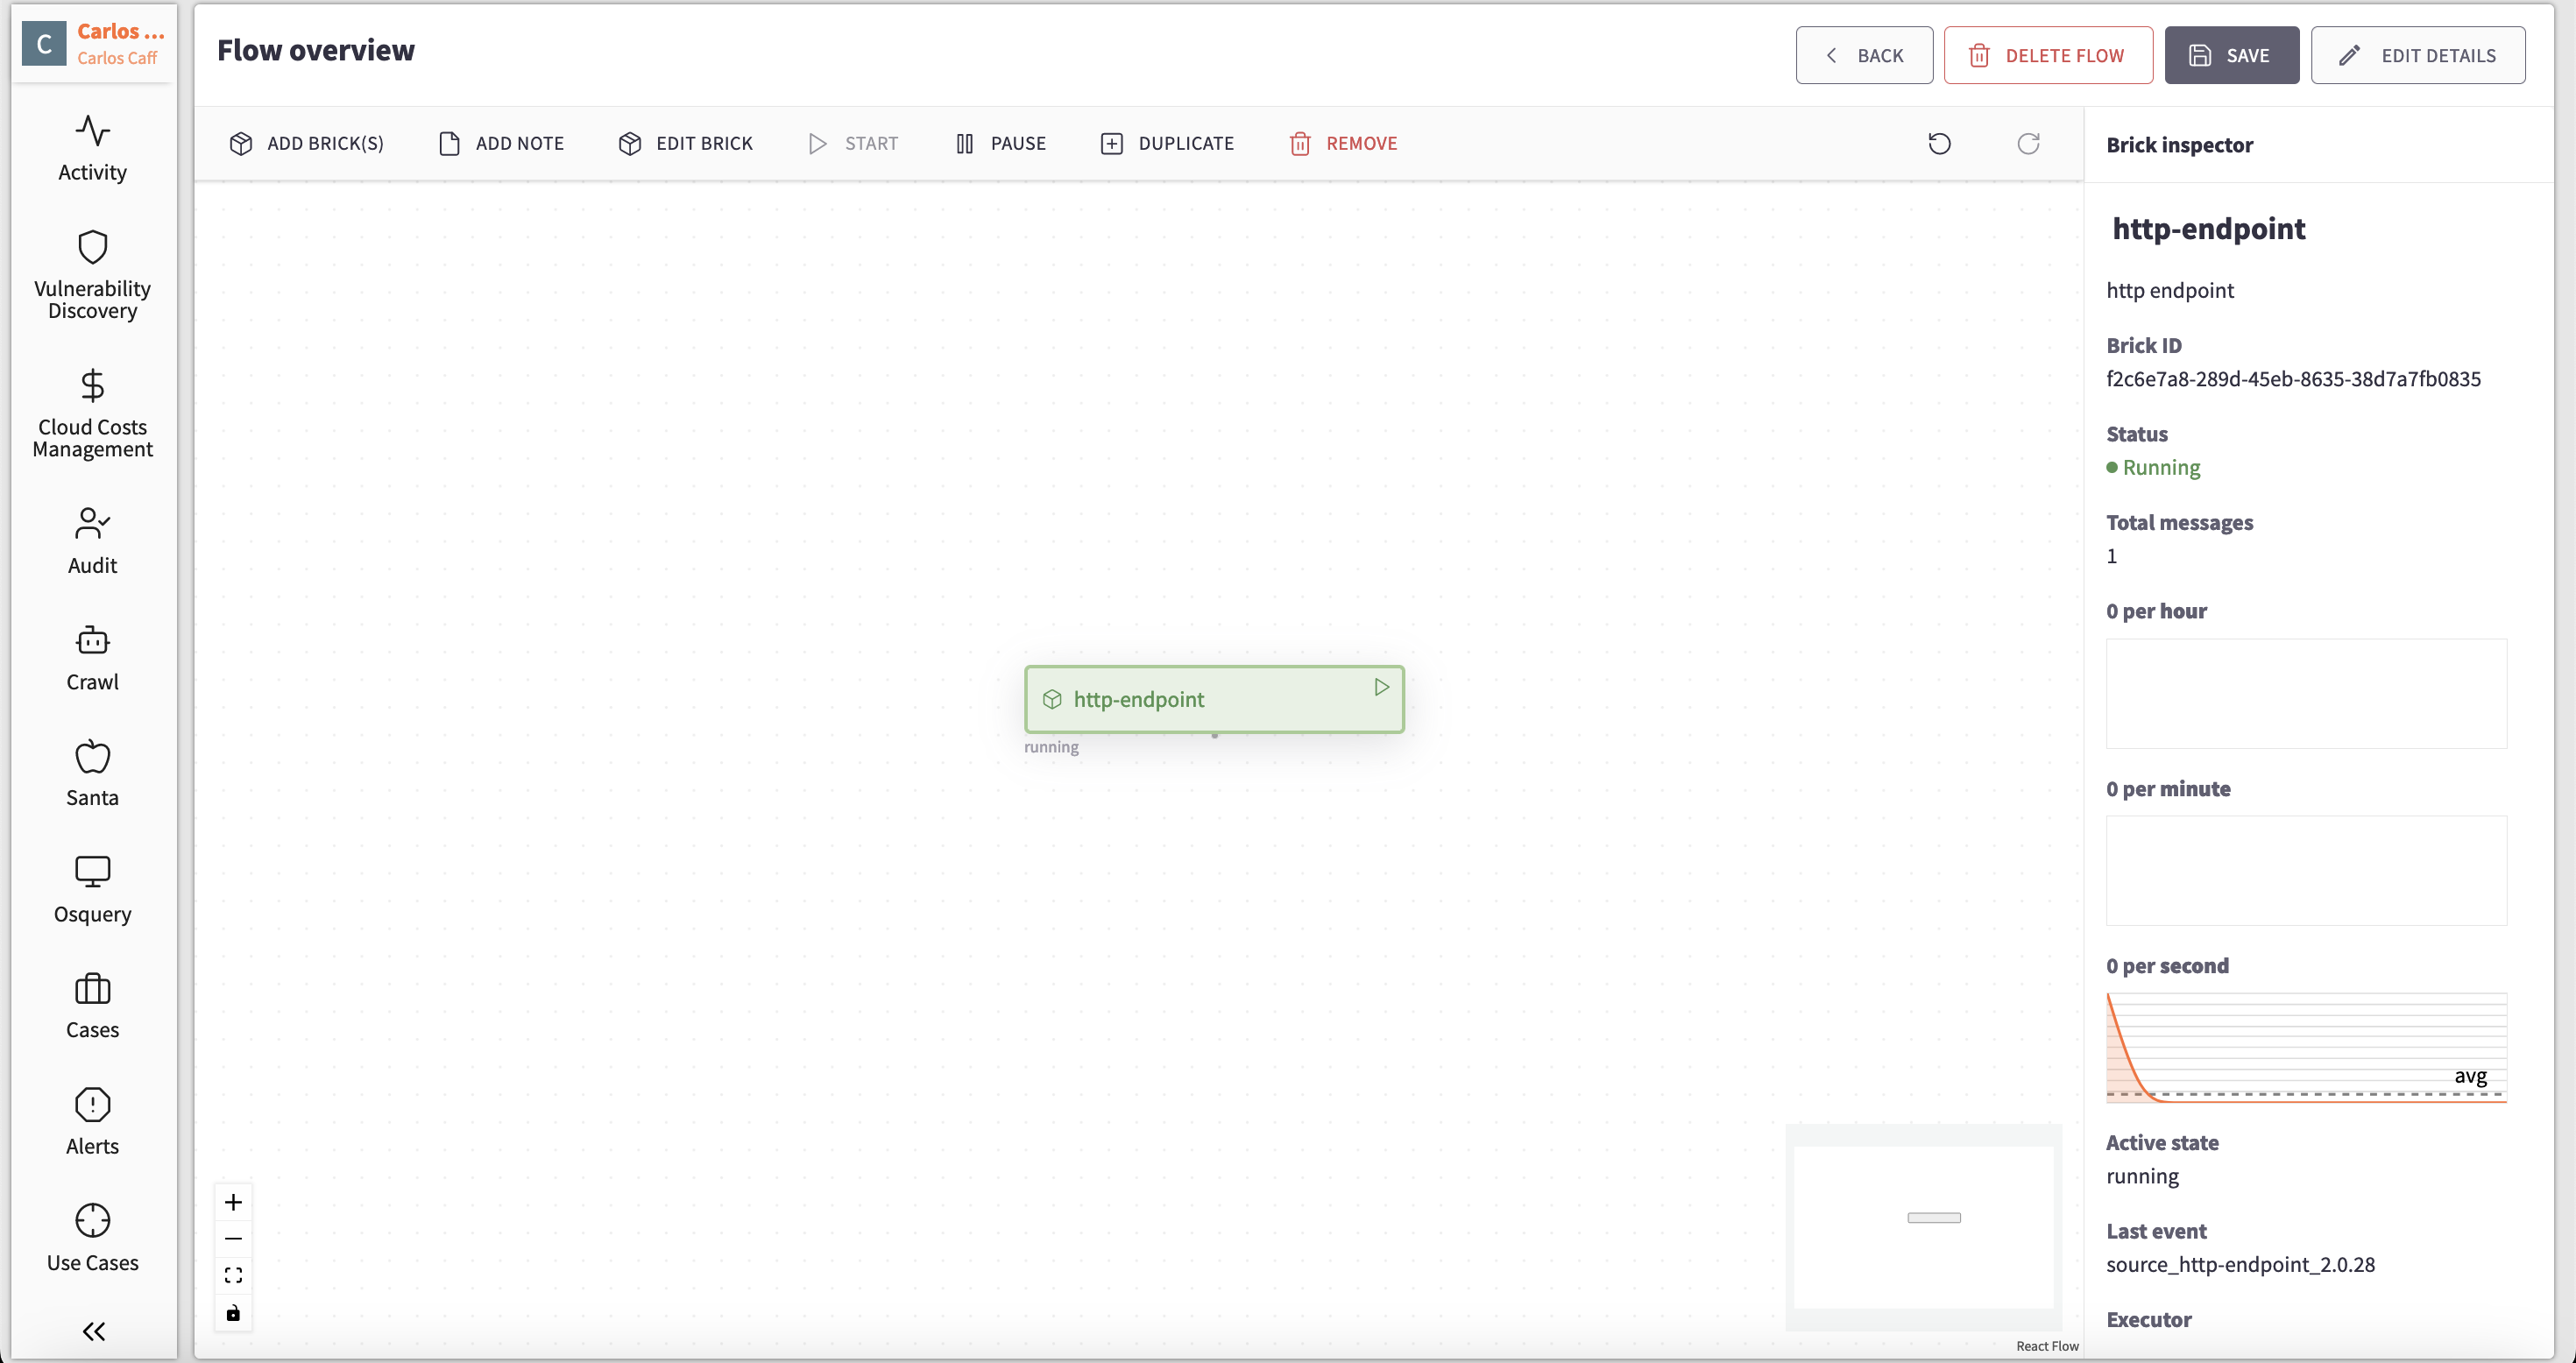
Double-click the brick to open it and view all stored data and any relevant information about data policies.
Part 2
Forms Setup
Create a Form
Navigate to the Form app, where you can see all existing forms and create new ones. Click the NEW FORM button in the top right corner. Provide a title, a description, and add the required components. For this example, a textbox component is sufficient to trigger the Playbook.
After triggering the Playbook, you can check if everything is functioning correctly in the Playbook task overview.
The output data is stored in the Flow. You can verify that the data was received by double-clicking on the endpoint brick.
Part 3
Playbook setup
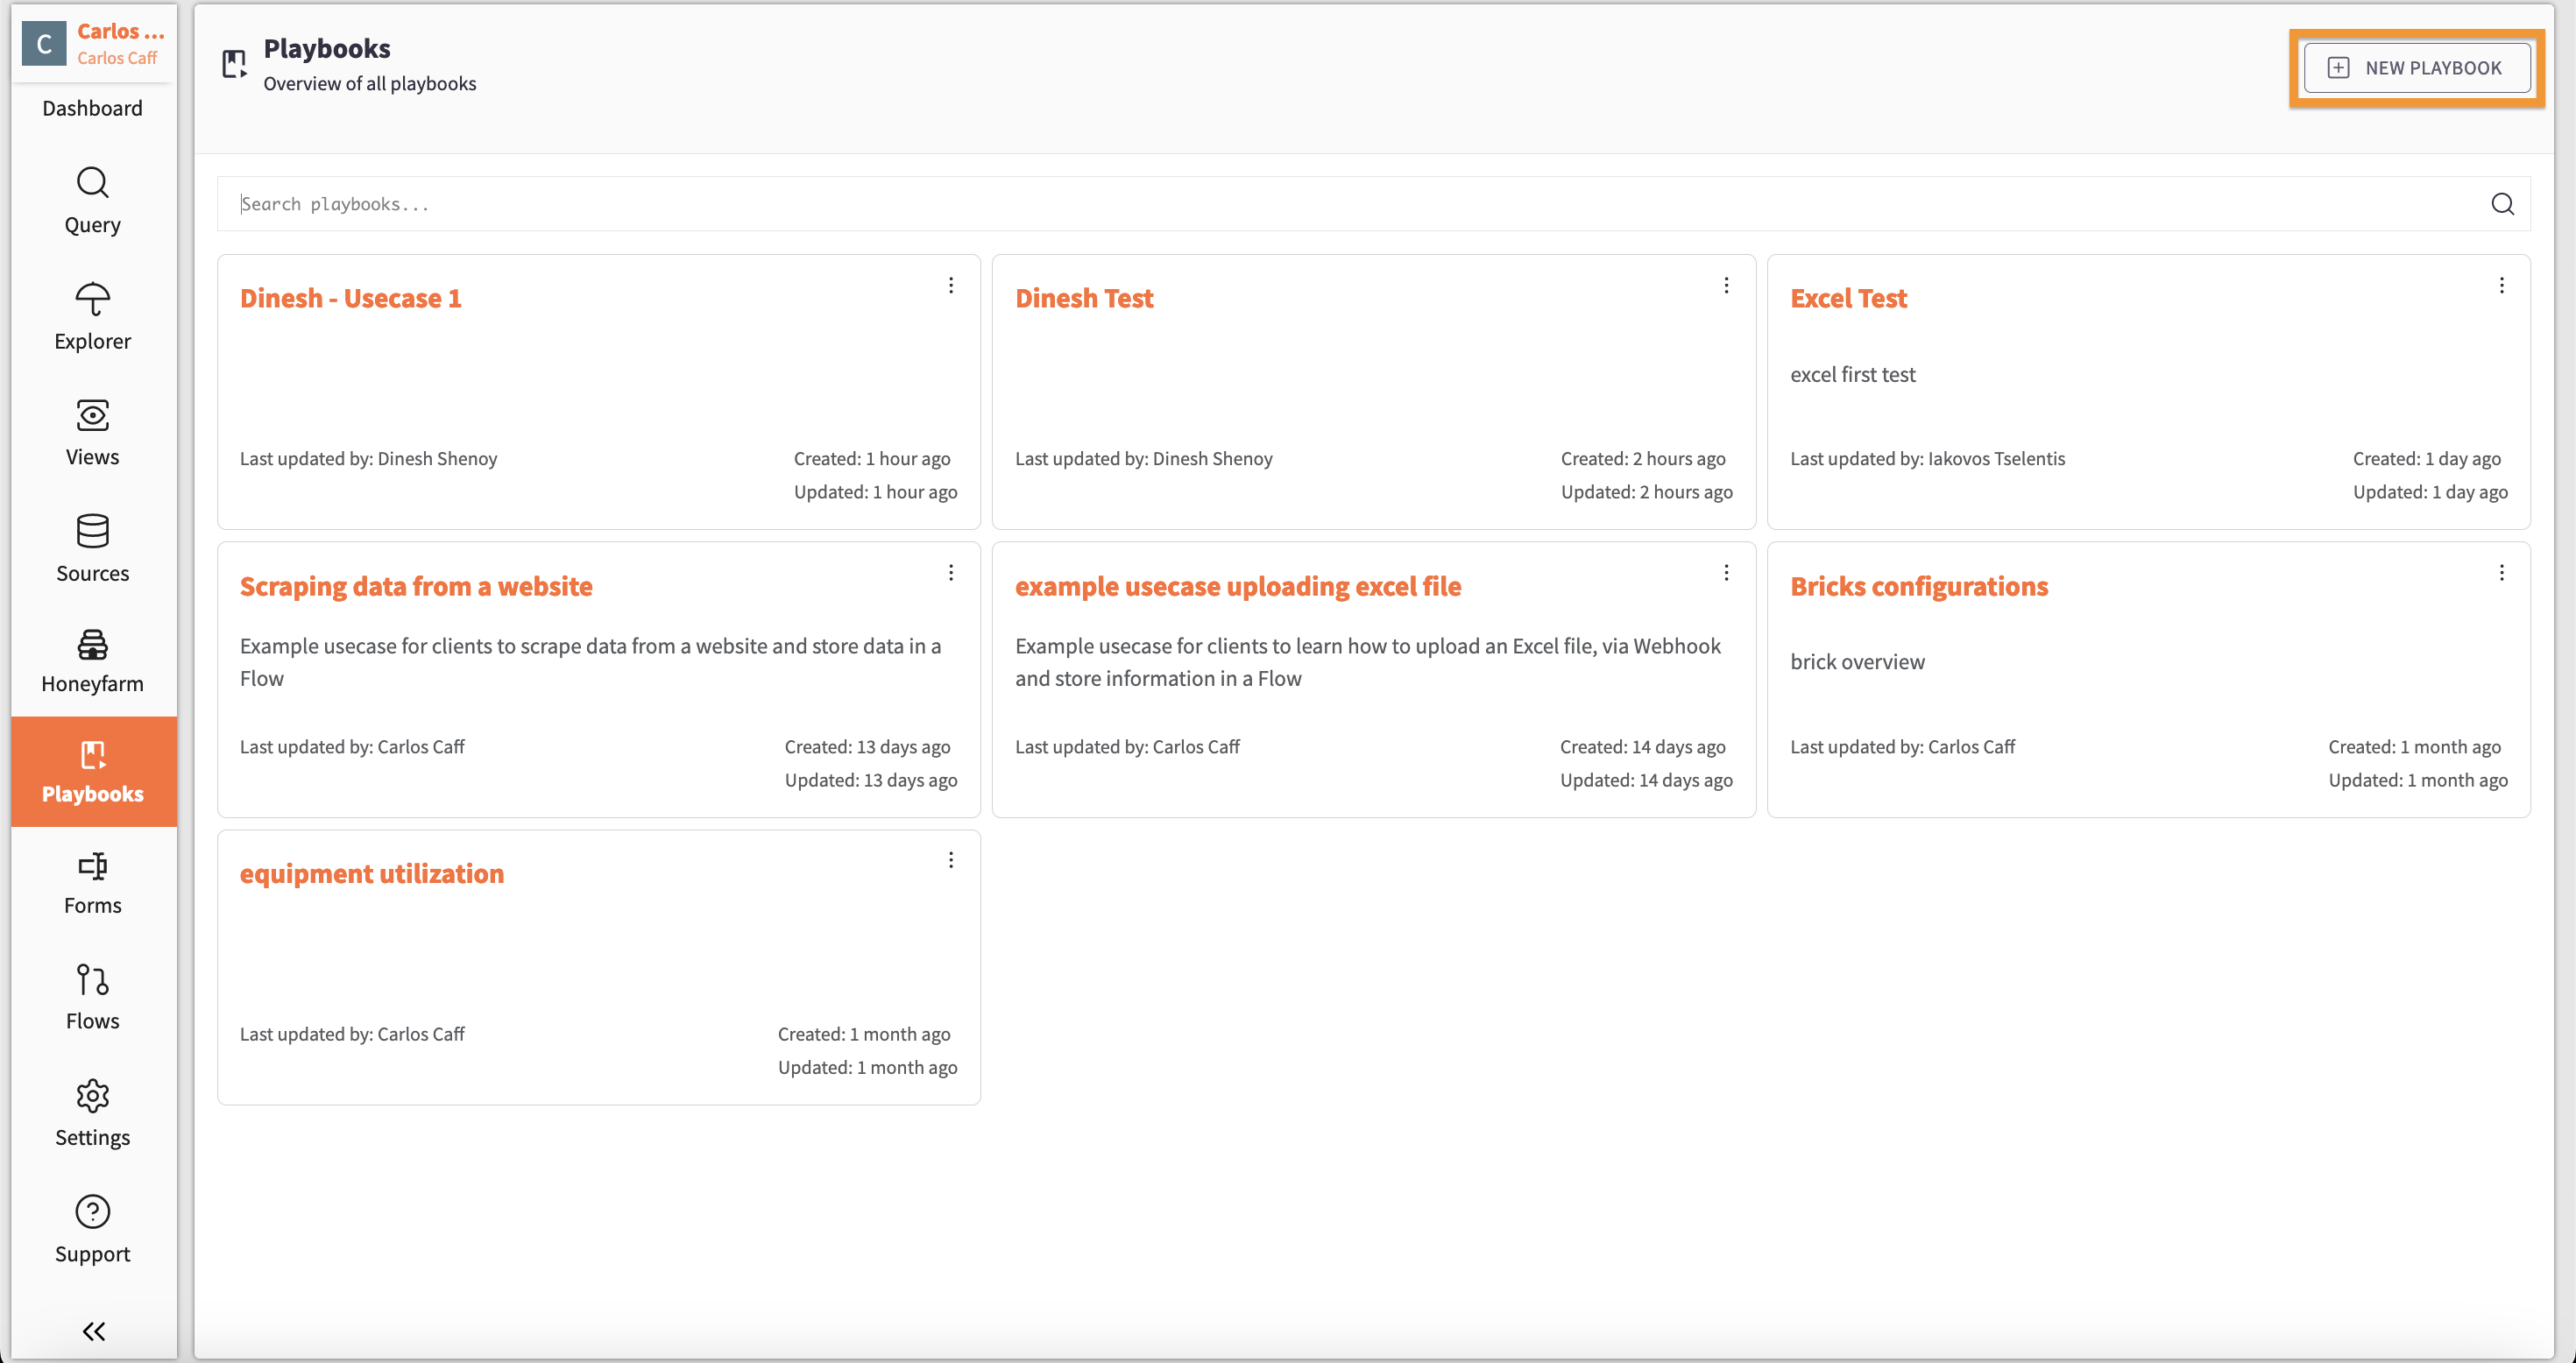
Create a Playbook
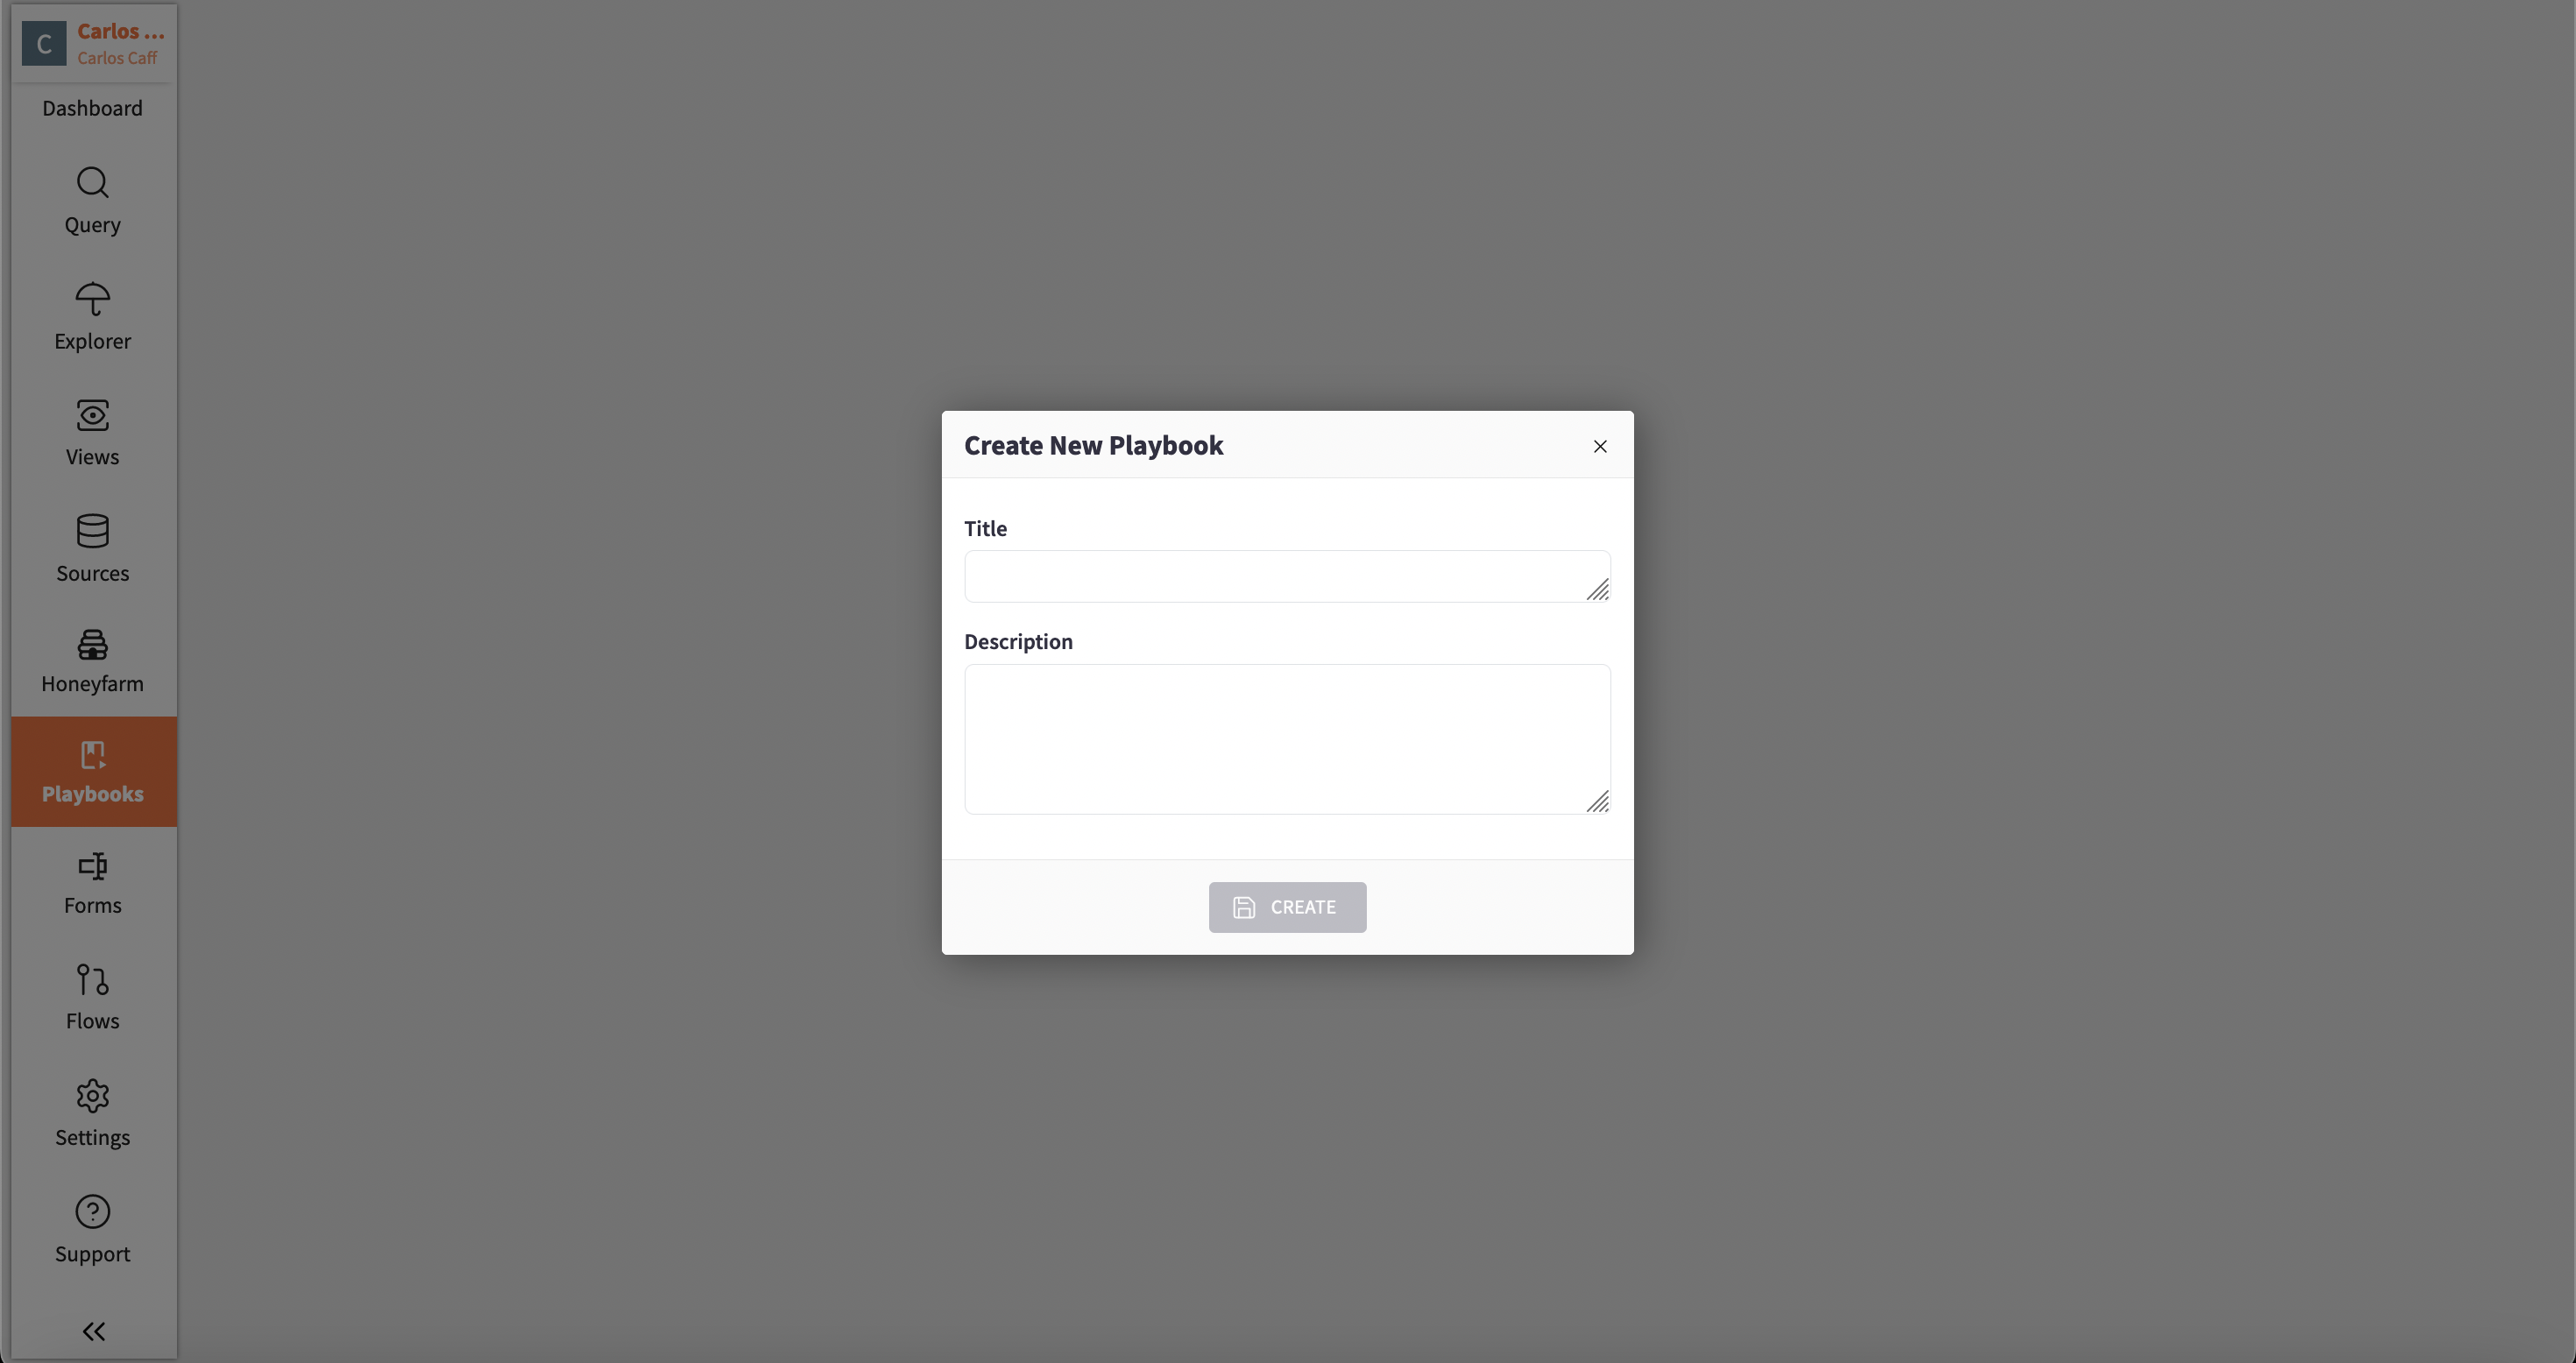
Go to the Raven Portal and select the Playbook app. Here, you can view existing playbooks and create a new one. To start a new playbook, click the NEW PLAYBOOK button in the top right corner.
Name and Describe
When creating the new playbook, assign it a name and, if desired, provide a description. Including a description is recommended to inform others who have access about its purpose and any relevant details.
Add and Configure Bricks
- Python Brick: This brick allows you to input a Python script for data scraping. It requires a do() function to be provided within the script.
Example code:
def do():
    import requests
    from bs4 import BeautifulSoup
    data = requests.get("https://www.scrapethissite.com/pages/simple/")
    soup = BeautifulSoup(data.text)
    names = soup.find_all("h3")
    country_info = soup.find_all("div", {"class": "country-info"})
    all_info = []
    for country in country_info:
        info = {}
        for i, row in enumerate(country.find_all("span")):
            if i == 0:
                info["Capital"] = row.text
            elif i == 1:
                info["Population"] = int(row.text)
            elif i == 2:
                info["AreaInKm2"] = float(row.text)

        all_info.append(info)

    all_country_info = [{
        "name": item.text.strip(),
        **country_info
    } for item, country_info in zip(names, all_info)]
    return all_country_info
Code explanation:
A. Import Required Libraries:
requests: This library is used to send HTTP requests to the webpage and get the HTML content.
BeautifulSoup: This is a part of the bs4 library and is used to parse HTML and extract data from it.
B. Send a Request to the Webpage:
The code sends a GET request to the URL and stores the response in the data variable.
C. Parse the HTML Content:
data.text contains the HTML content of the page. This content is parsed by BeautifulSoup, making it easier to navigate and extract specific elements.
D. Extract Country Names and Information:
names: Finds all h3 tags, which presumably contain the names of countries.
country_info: Finds all div elements with the class "country-info", which presumably contain detailed information about each country.
E. Iterate Over the Country Information:
This loop iterates through each country_info block and extracts specific pieces of data:
Capital: The first span element’s text.
Population: The second span element’s text, converted to an integer.
AreaInKm2: The third span element’s text, converted to a float.
These values are stored in a dictionary info, which is then added to the all_info list.
F. Combine Names with Their Corresponding Information:
This list comprehension creates a list of dictionaries, all_country_info.
Each dictionary combines the name (extracted from the h3tags) with its corresponding country information (capital, population, area).
zip(names, all_info) pairs each country name with its corresponding information dictionary.
G. Return the Final List of Dictionaries:
The function returns the all_country_info list, where each element is a dictionary containing the name of a country and its associated data (capital, population, and area).
For more information on the Python Brick follow link below:
- Send to Topic Brick: This brick acts as a connector between Playbooks and Flows, transferring data received from the Playbook to the Flow for storage. To configure this brick, select a Topic, which refers to the previously created endpoint in the Flow, and specify in the
templateparameter the data that will be sent to this endpoint.
For more information on the Send to topic brick follow link below:
Learn more about the Send to Topic Brick
- Form Brick: This brick is used to manually trigger the Playbook. To configure it, simply select the form that was previously created.
For more information on the Form Brick follow link below:
Learn more about the Form Brick
Part 4
Table Setup
Create a Table
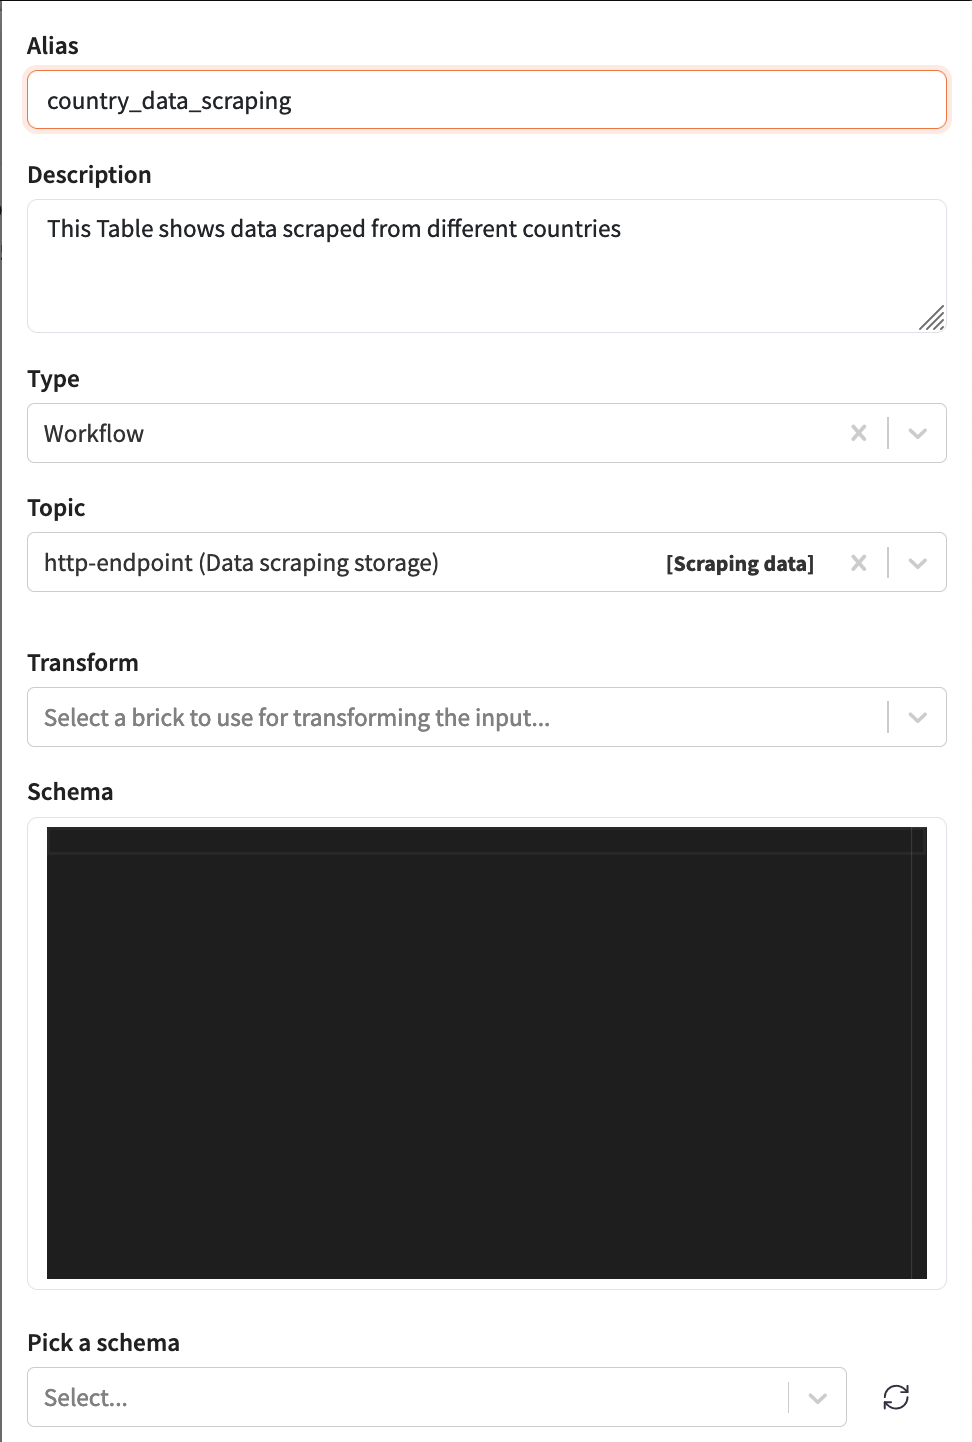
Go to the Table app under settings. Here, you can view all existing tables and create new ones. For this business case, create a Workflow table by selecting the CREATE TABLE button in the top right corner.
Configure the Table
-
Name and Description: Enter a name and a description for the table.
-
Table Type: Choose "Workflow Table" as the type.
-
Topic: Select the topic from which the table will pull data.
-
Create Table: Click CREATE TABLE.
For this type of table, you can leave the schema field empty, as it will be automatically generated.
Part 5
Query Setup
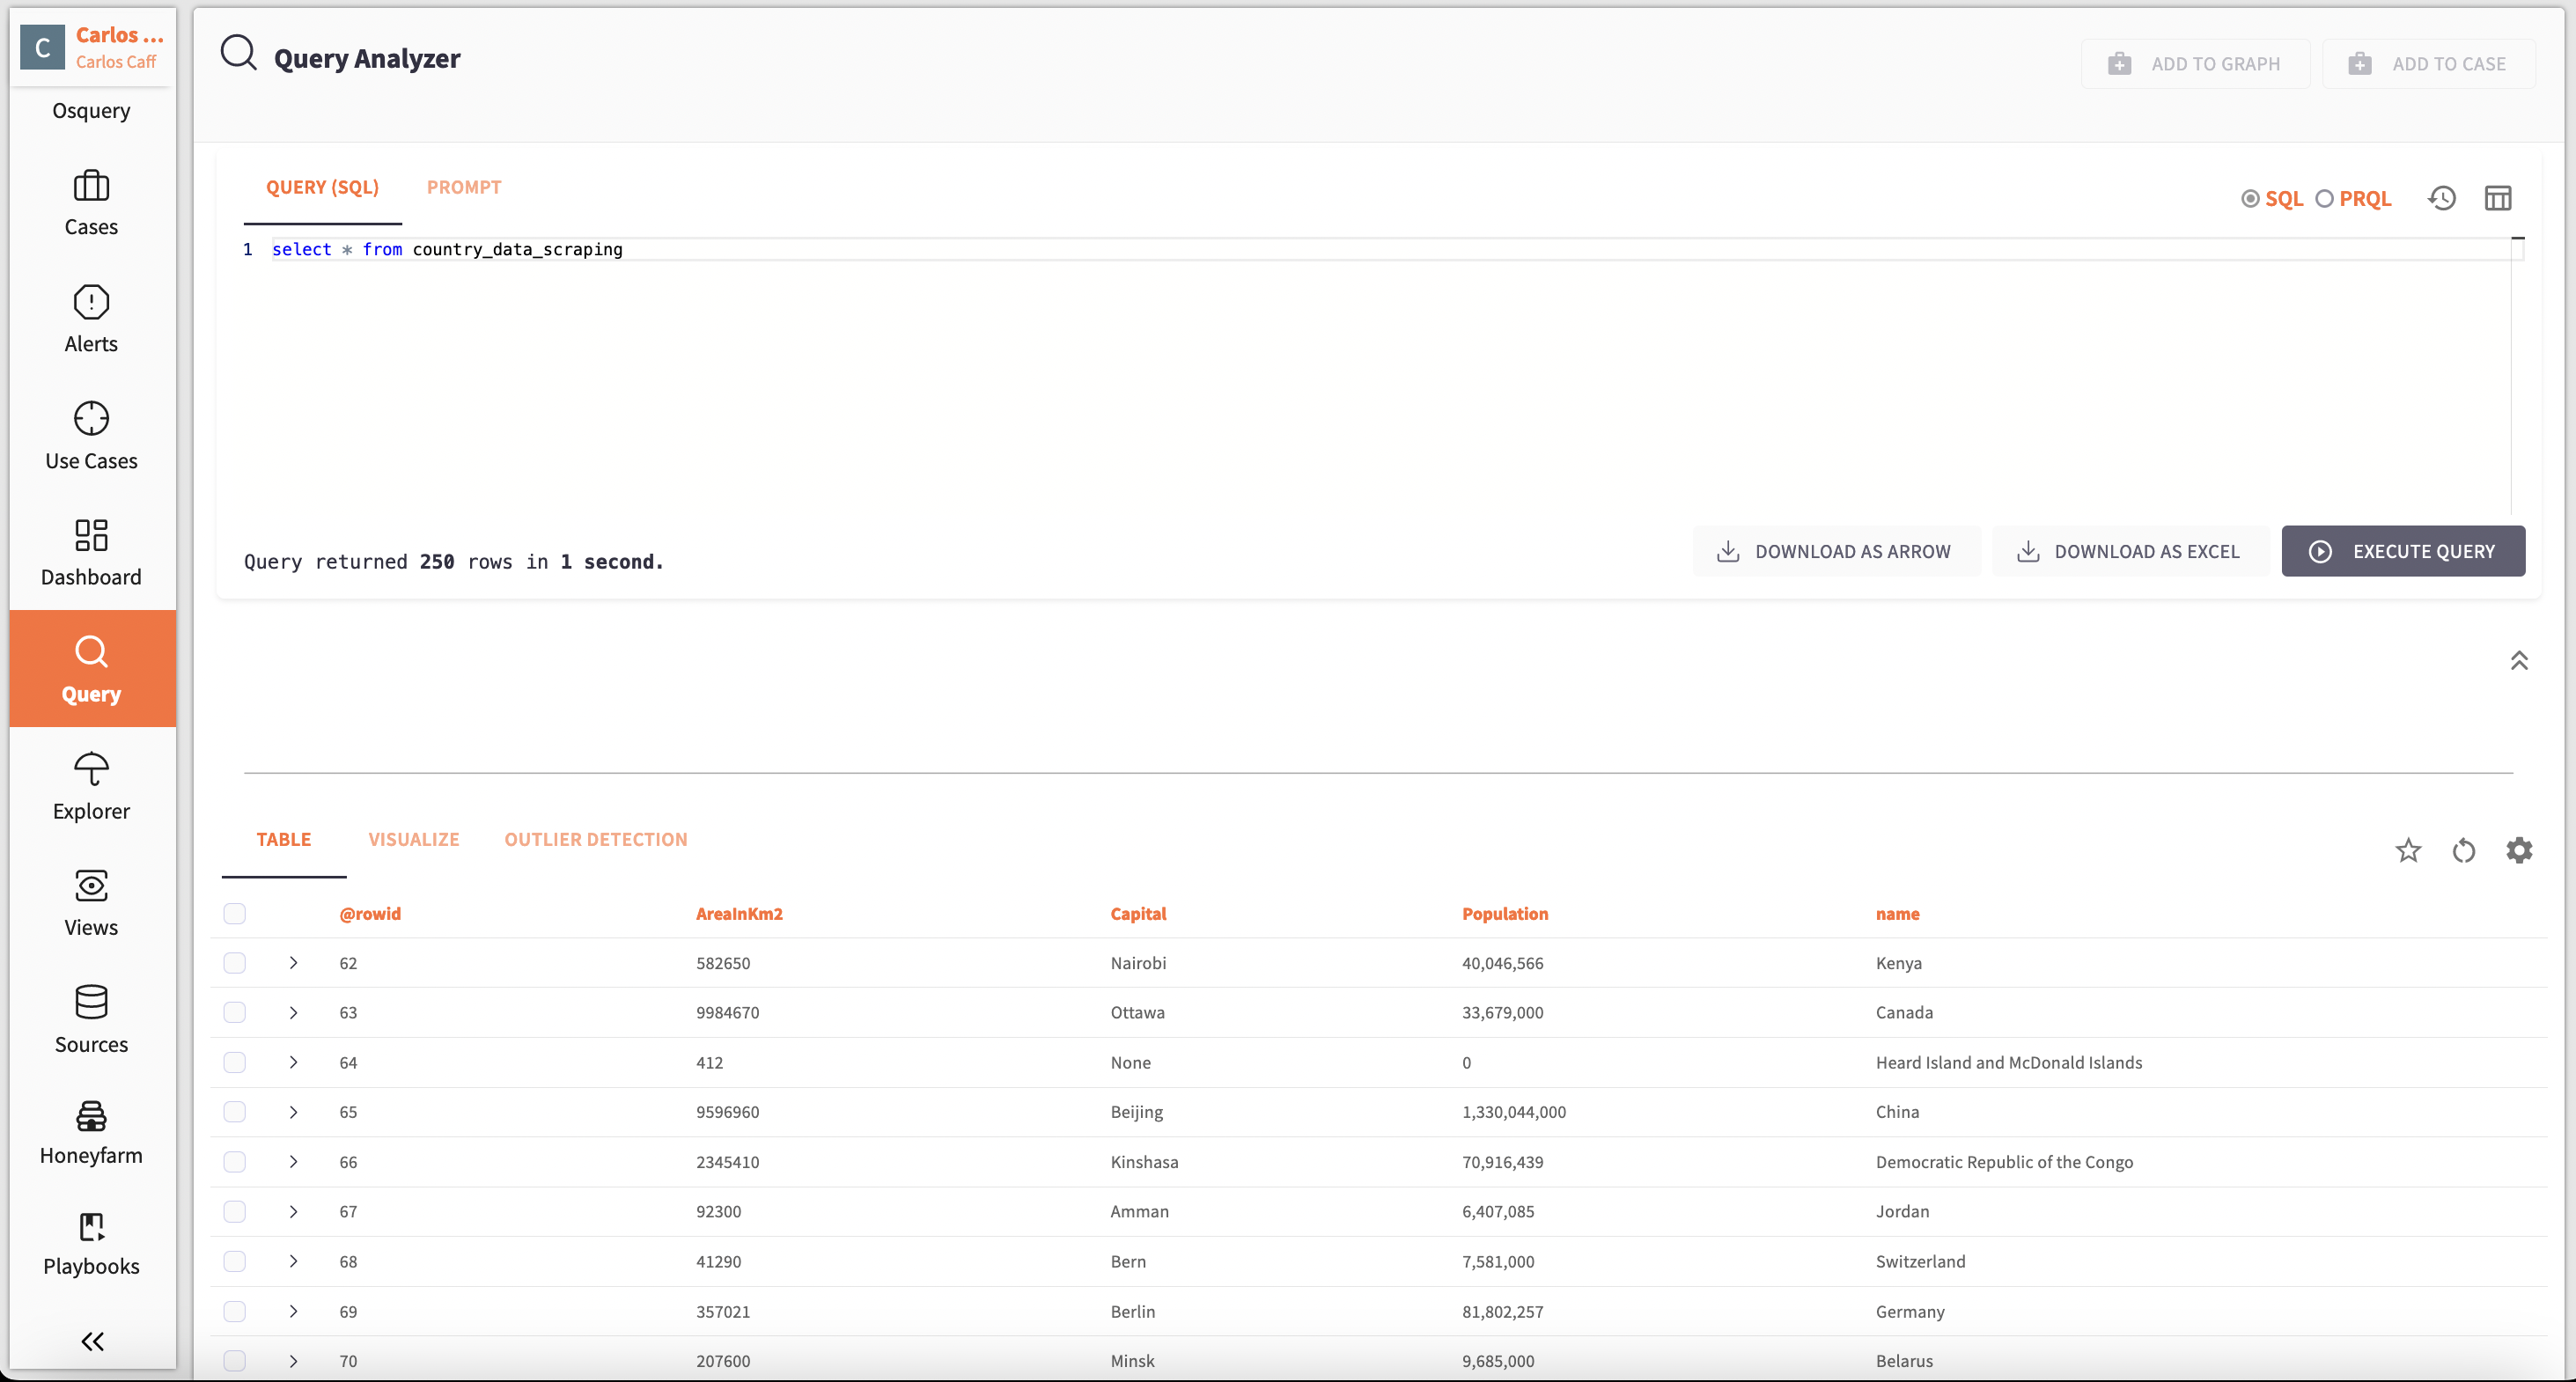
To visualize the table you created, go to the Query app. Here, you can use PostgreSQL to retrieve the desired data from the table.
Example Query:
SELECT * FROM country_data_scraping
Visualization Setup
In the Query app, you can visualize your table by choosing from various available graphs or panes. Go to the visualize section, select your preferred method for displaying the data, and configure the axis settings.
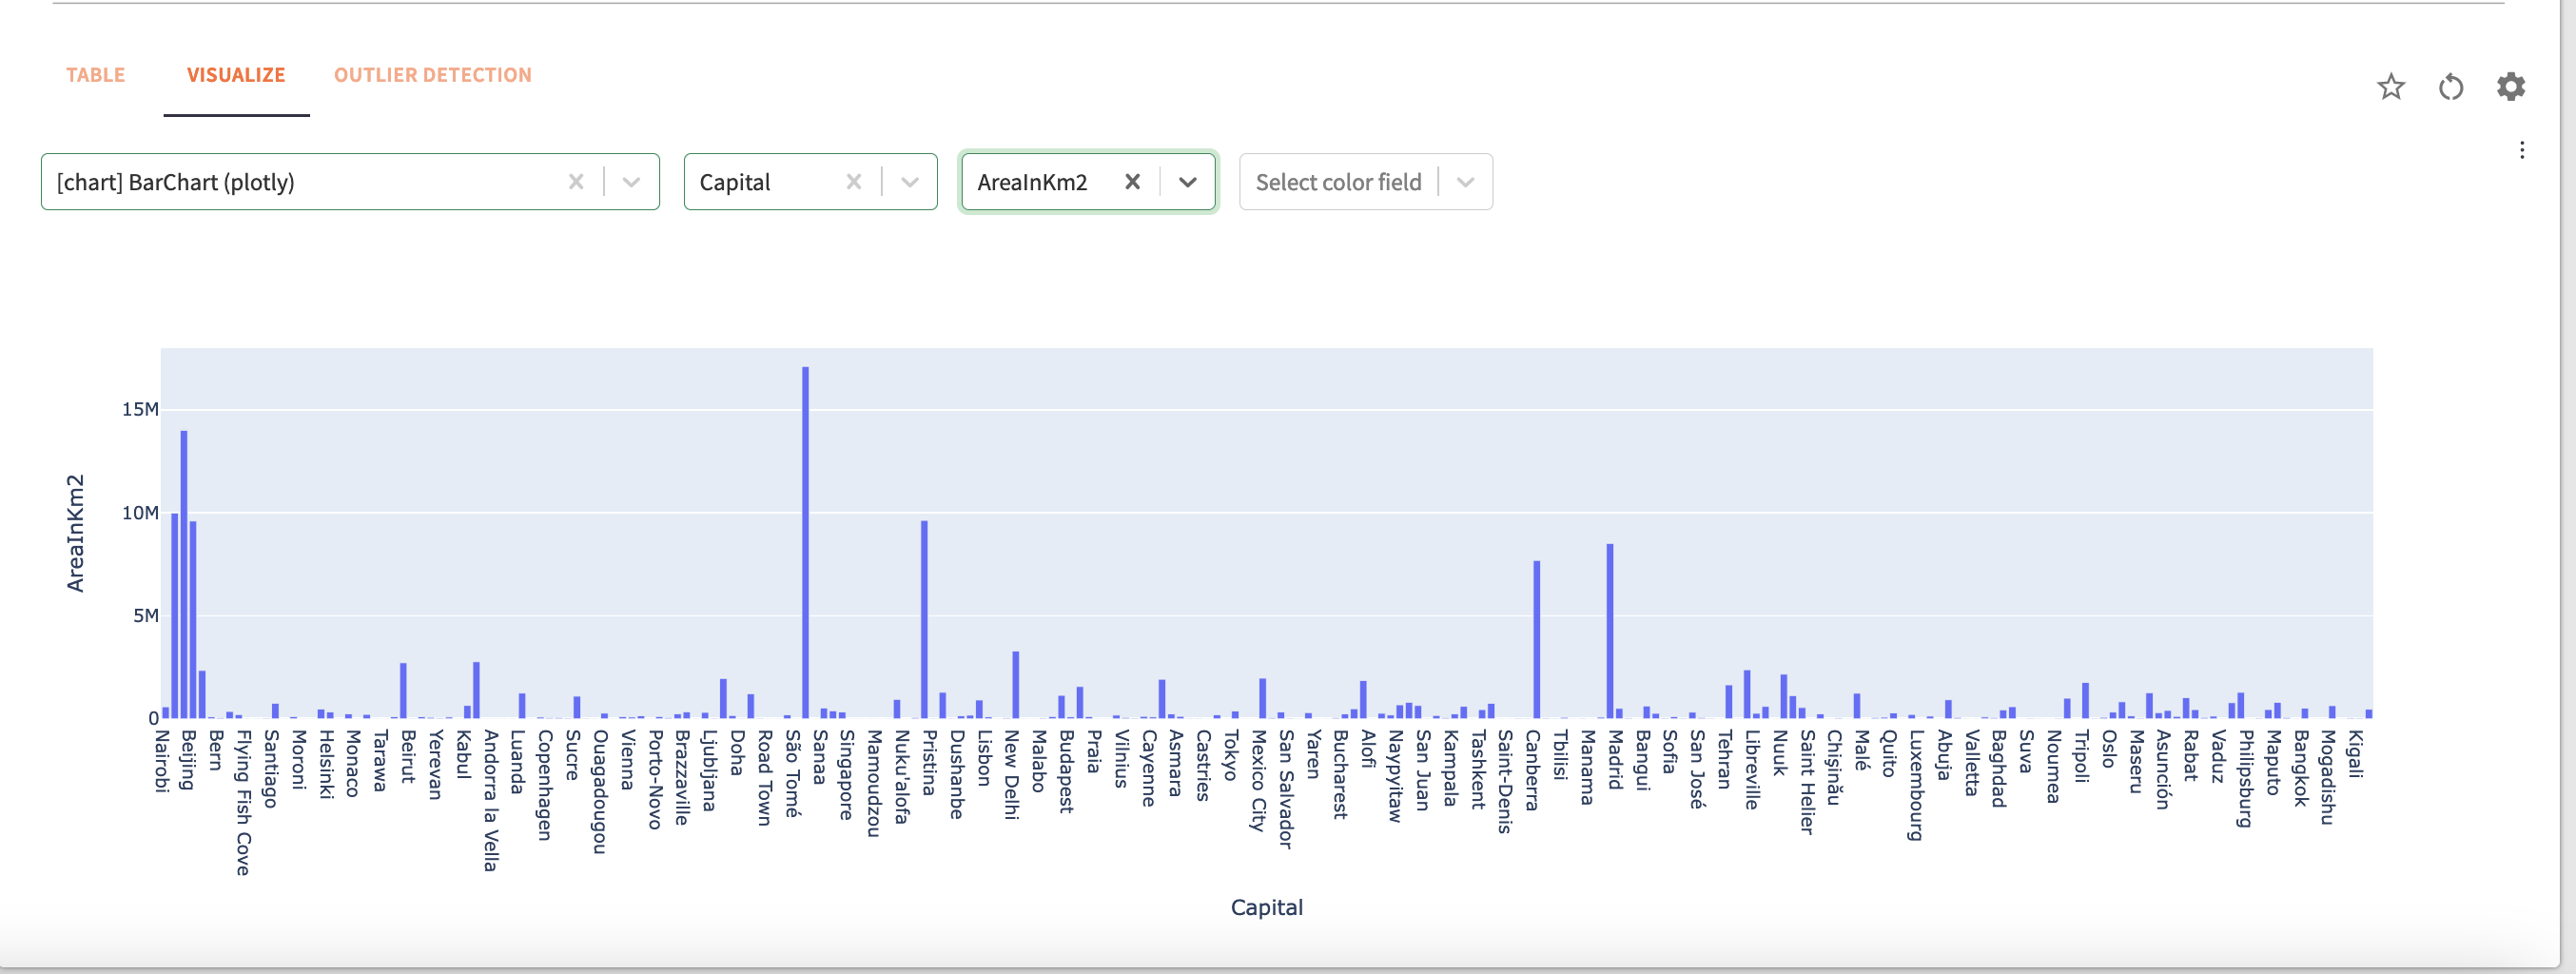
You can save the pane for later use by selecting the three dotted button on the top right corner, and provide a name and a description.