Tutorial Creating a Playbook
| Purpose | This tutorial leads you through the different steps of creating, configuring and managing a Playbook. |
|---|
| Scope | During this tutorial you will explore Playbook creation and configuration of different Bricks for an easy automation of tasks. |
|---|
Step 1: Creating a Playbook
To start creating a Playbook lets head to the Playbook app within the left menu of the Raven Portal. Here we can see all Playbooks that have been created within our team, showing specific information about them like:
-
Name of the Playbook
-
Description of the Playbook
-
When it was created
-
When it was last updated
-
Who was the last person to update it
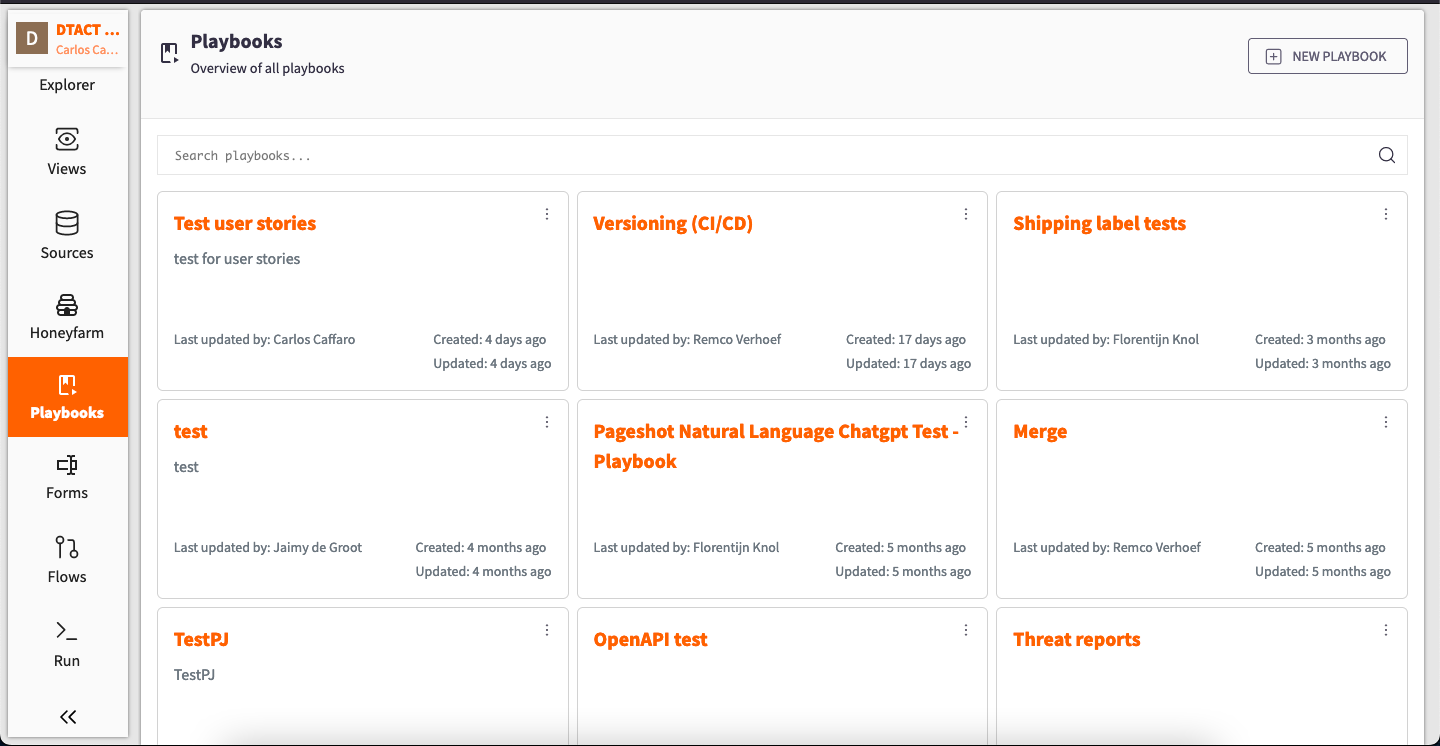
To create a new Playbook select the "NEW PLAYBOOK" button located at the top right corner of the interface. This will take us to a new tab with three sections. The section to the Left will show us all the different Bricks we can add to our Playbook, The section in the center is the canvas on to which we will add our Bricks, and the section to the Right is going to show is information about the Playbook like title and description.
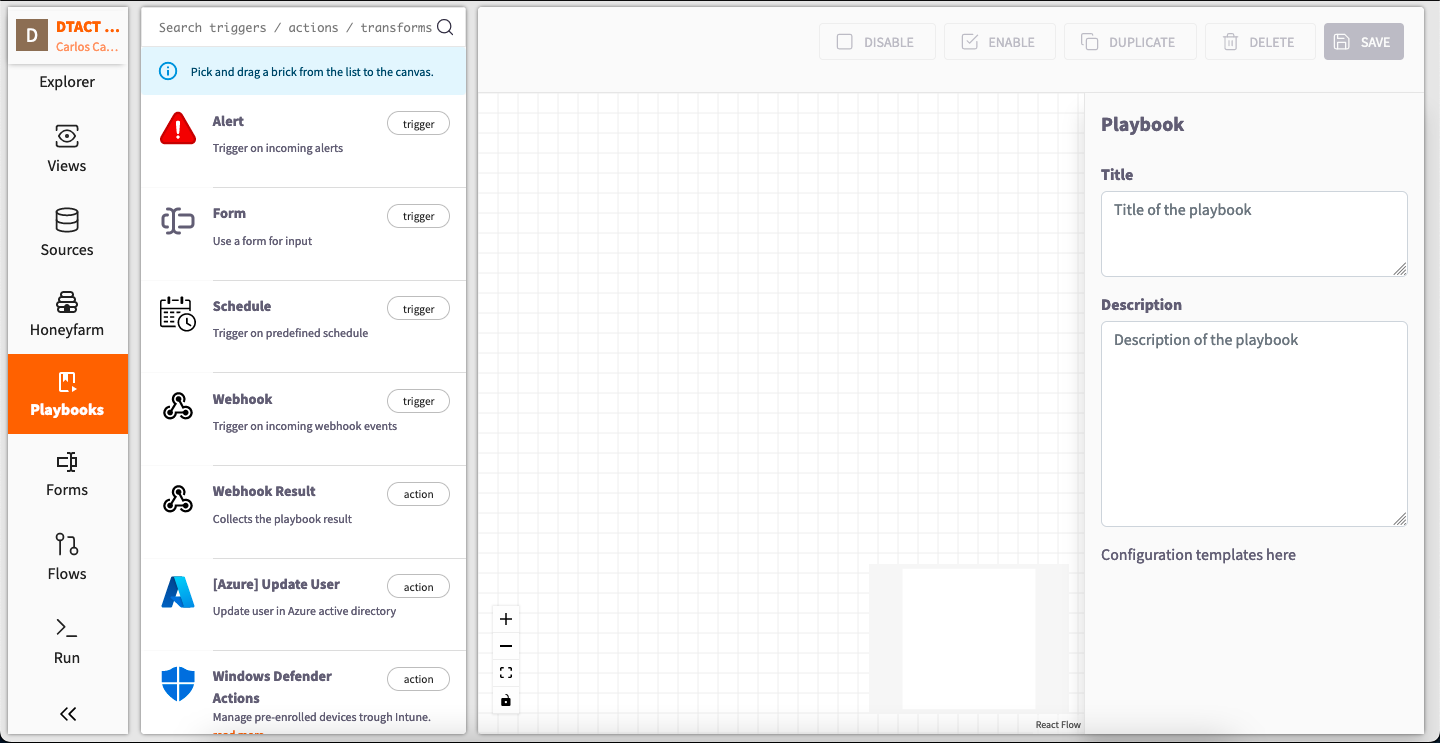
Lets start by naming our Playbook and adding a description. The purpose of this Playbook is to receive a Slack message every time a new document or CV is uploaded to our Form. So lets name the Playbook: Hiring Documents, and in the description lets put: Receive documents and send message to hiring personnel. After naming our Playbook lets save it and start adding Bricks.
Step 2: Creating a Form
The first Brick that we are going to add to our Playbook is a Form Brick. Working as a Trigger Brick that will activate the Playbook once new information is received.
To create a Form lets navigate to the "Forms" app in the Raven Portal located in the left menu. This interface will show you existing forms:
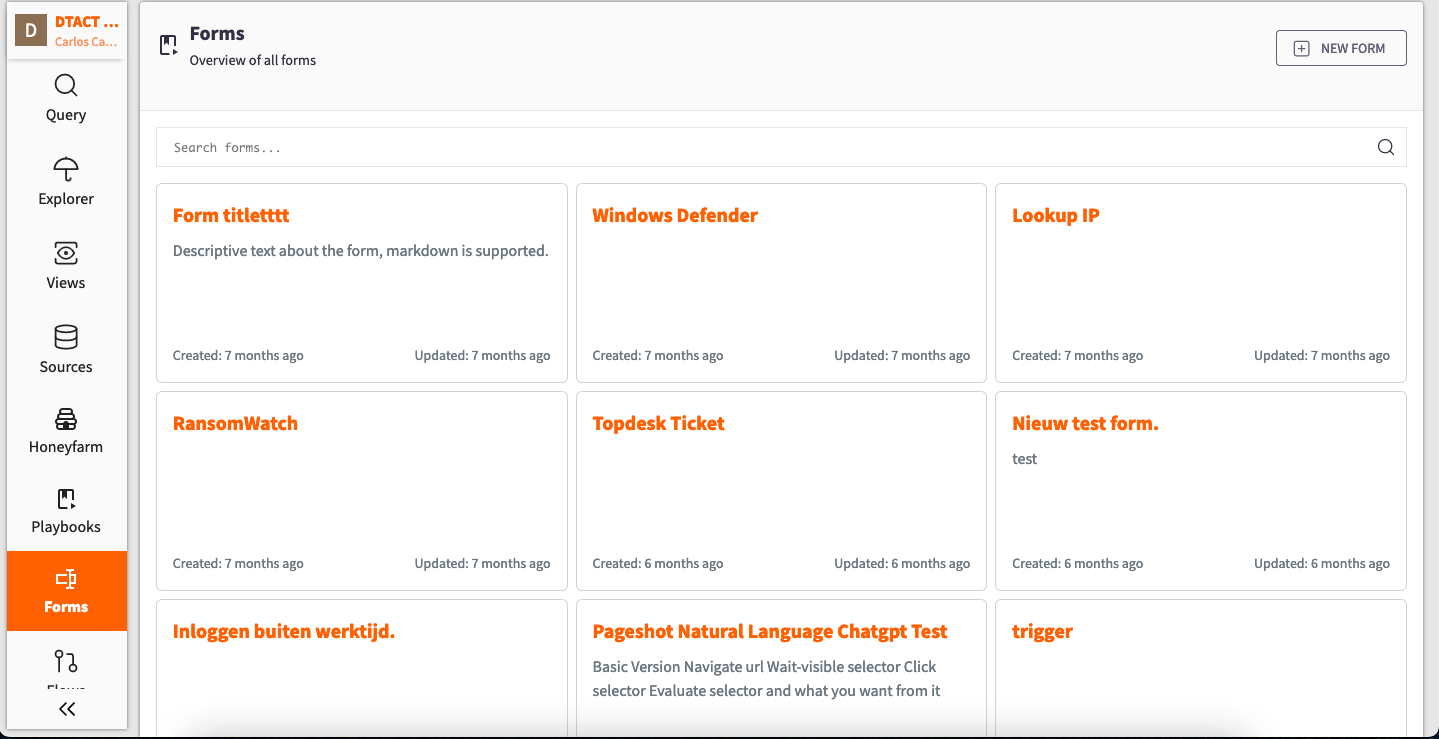
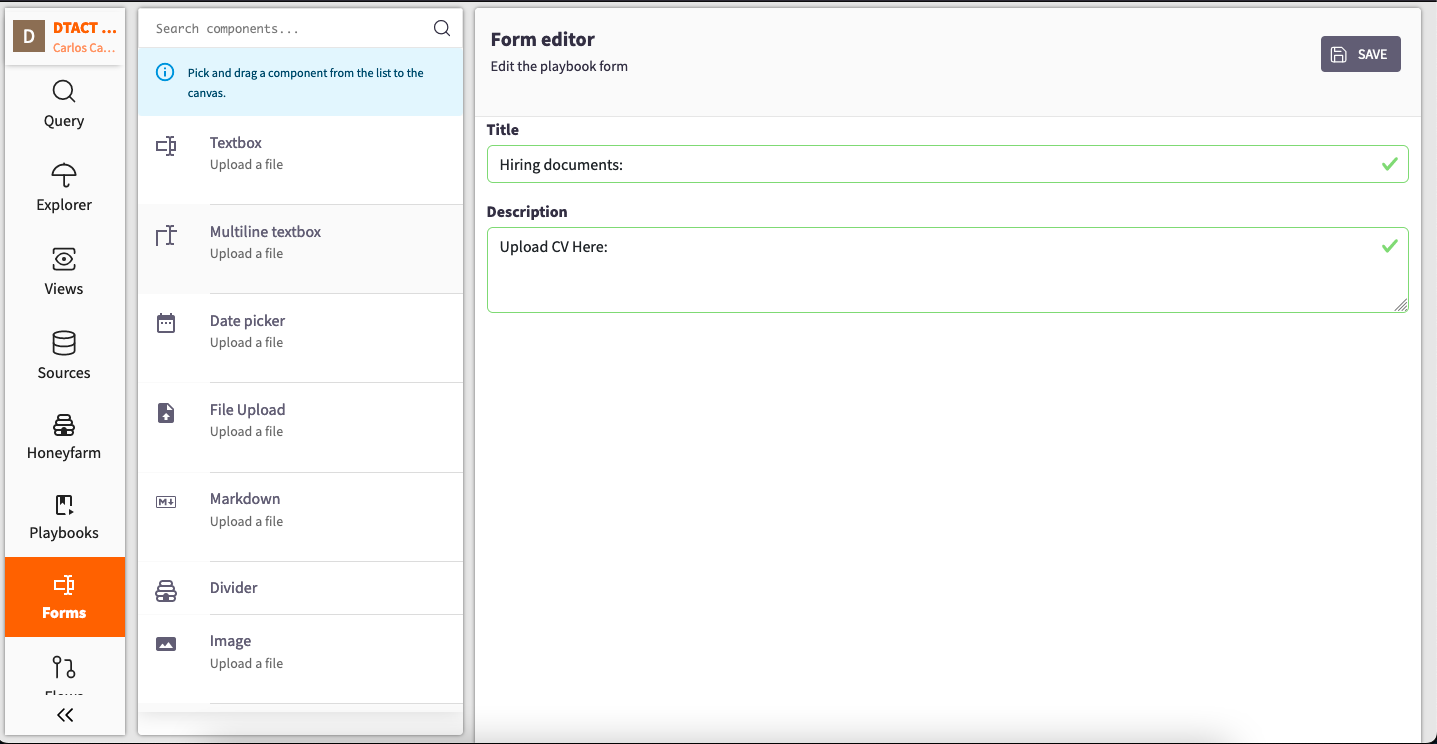
Click the "NEW FORM" button to configure your new Form. Name, add description and components like text boxes, date pickers, and file uploads. In this case add the File Upload component and save your Form.
Step 3: Configuring Playbook
Having our Form created lets head back to our Playbook and start configuring it.
The next steps are going to be adding the Form the Brick and connecting it to the Send Message Brick so that when metrics are reached we receive our message on Slack alerting us of the new development.
Step 3.1 adding the Form to the Playbook:
Lets select the Form Brick and add it to the canvas.
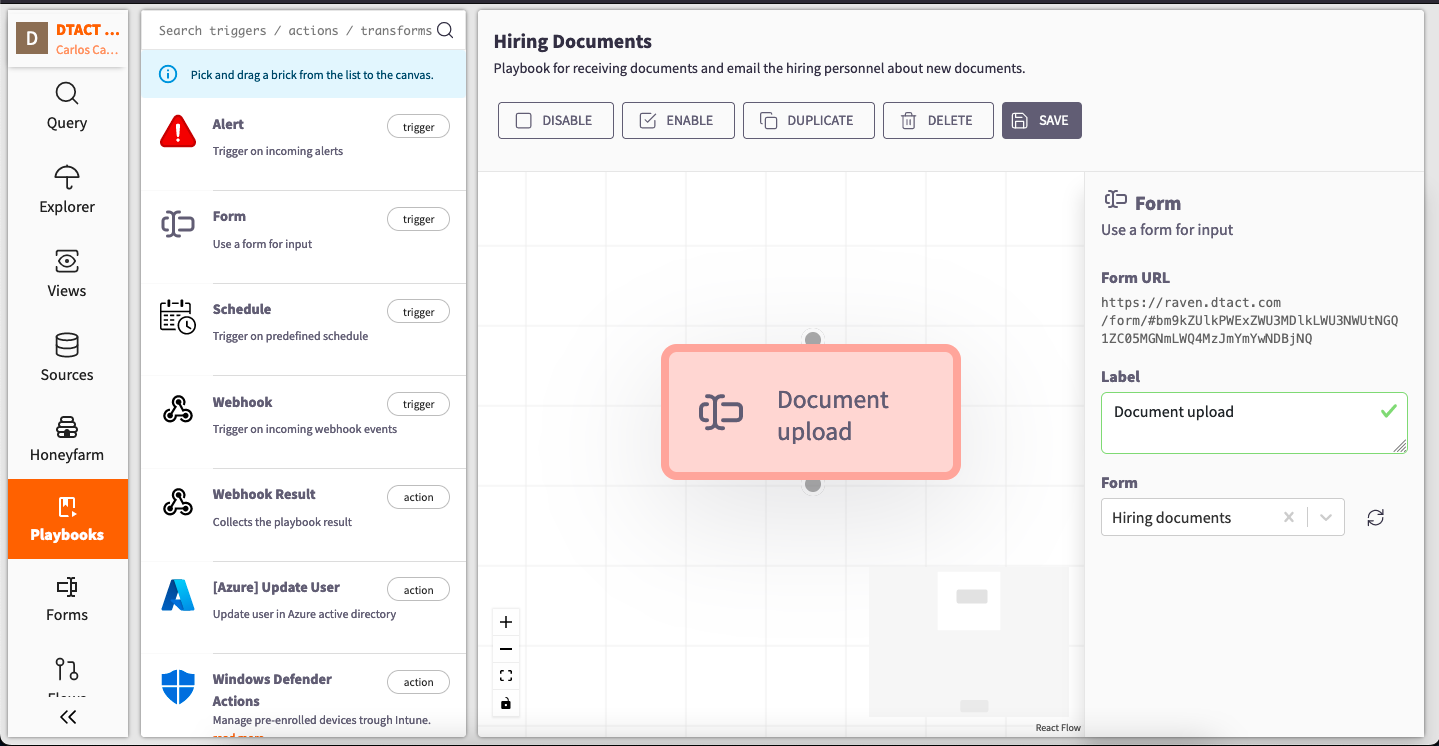
On the right Pane we will find essential details:
-
Form URL: Share this with users uploading files.
-
Label: Name of the Brick.
-
Form: Select the associated form ("Hiring documents").
Step 3.2 Adding Send Message Brick to the Playbook:
Select the Send Message Brick and add it to the canvas.

The right pane is going to show us three pieces of vital information:
-
Label: Name of the Send Message Brick.
-
Webhook URL: Unique endpoint for external program communication.
-
Template: Design the Slack message.
To learn more about designing Templates follow the link below:
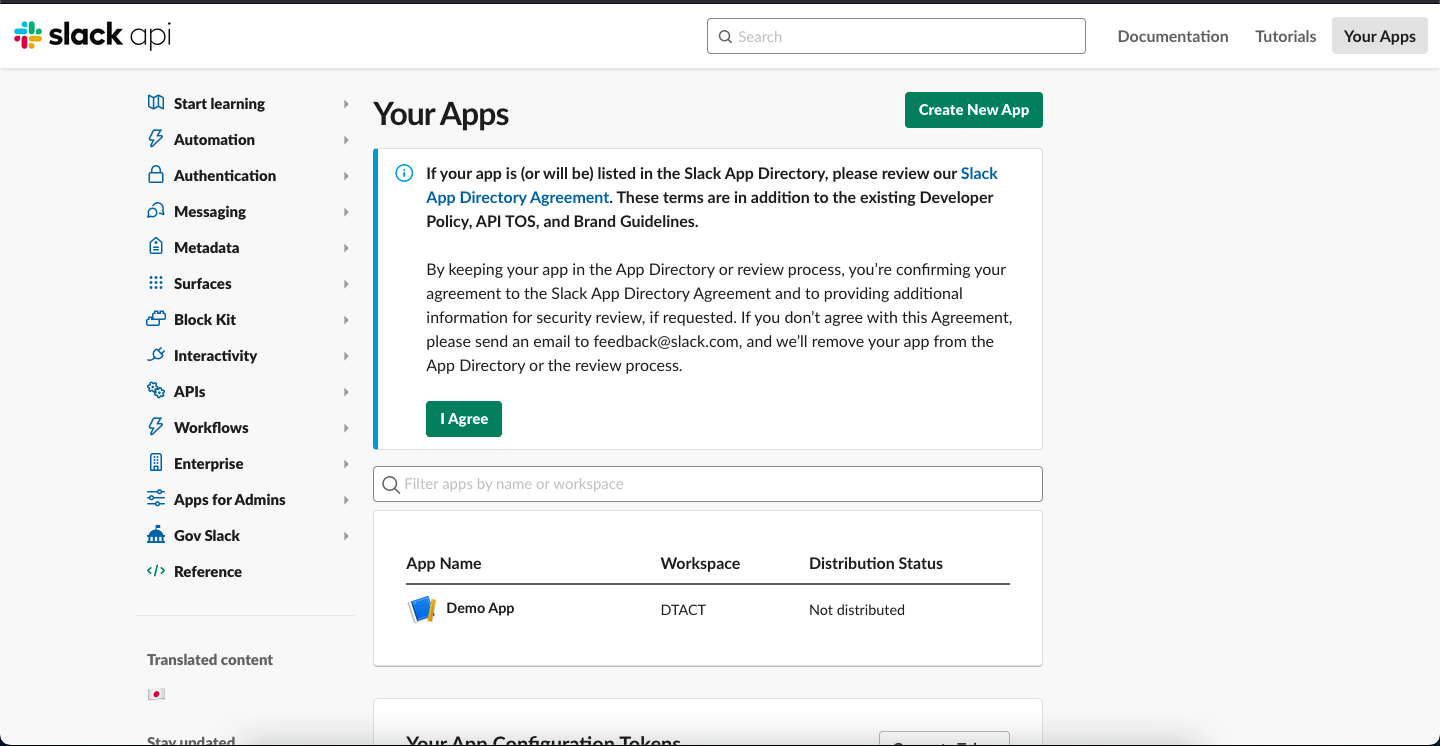
Step 3.3 Creating a Webhook URL for Slack
Visit the Slack App Management website to create a Webhook URL. Choose "Create New App," configure its features, and activate "Incoming Webhooks." Add a new Webhook URL, granting necessary workspace access.
Grant permission for message posting and select the recipient. Copy the generated Webhook URL to use in the Send Message Brick.
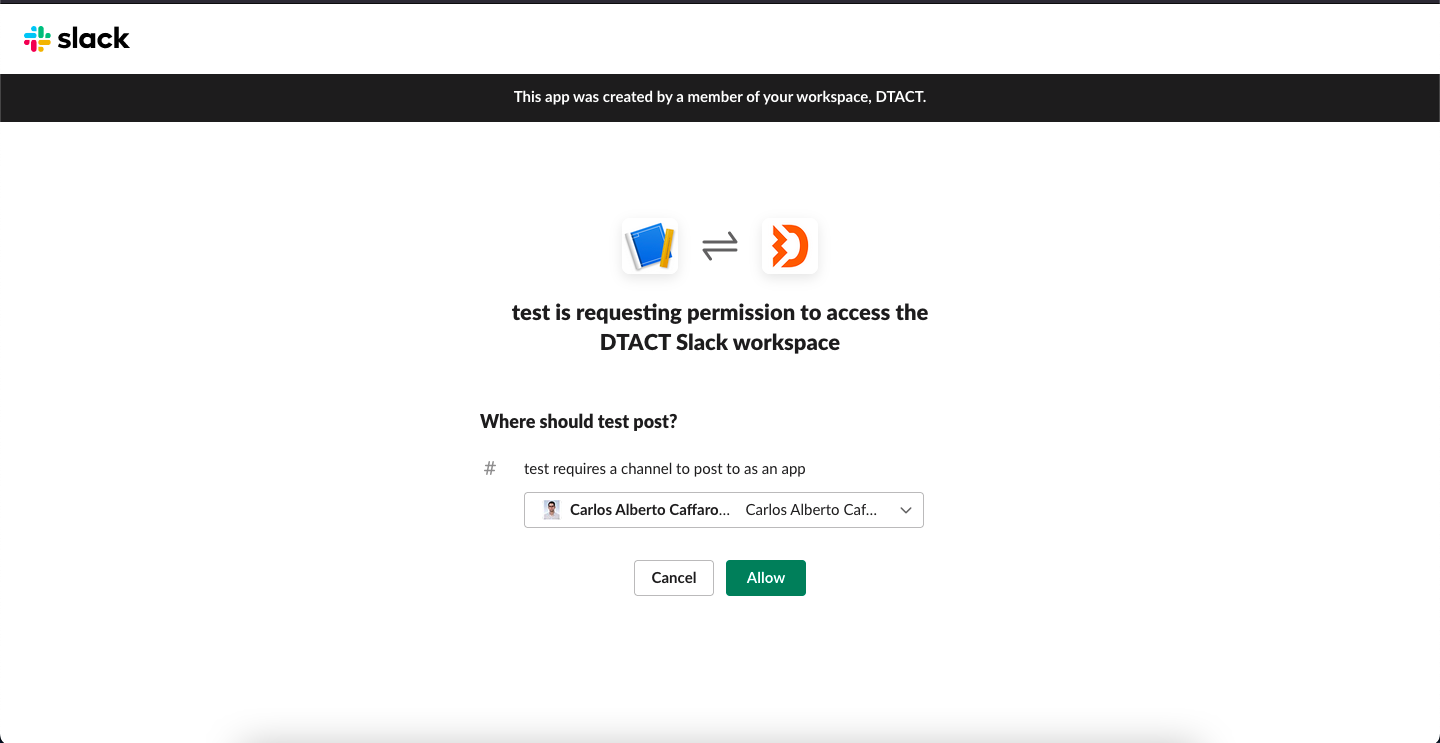
Keep your Webhook URL secure to prevent unauthorized access.
Step 3.4 Configuring message on the Send Message Brick
In the Send Message Brick's "Template" section, use JSON language to structure your message. For example:
{
  "text": "A new document has been uploaded, please take the time to check it."
}
Connect the Bricks, save your Playbook, and congratulations! You've successfully created a Playbook.