Osquery User Story
| Purpose | This user story will was created to show the user how to Query different registered endpoints in the Osquery app. |
|---|
| Last Updated | September 16, 2024 |
|---|

The Raven Osquery App is a tool that let us use SQL-like queries to retrieve and interact with the information of any registered computer or server. In this user story you will learn how to interact with endpoints registered in the App.
For more information on the Osquery App follow link below:
Step 1: Navigating Osquery app
Navigate to the Osquery app located in the left menu of the Raven Portal.
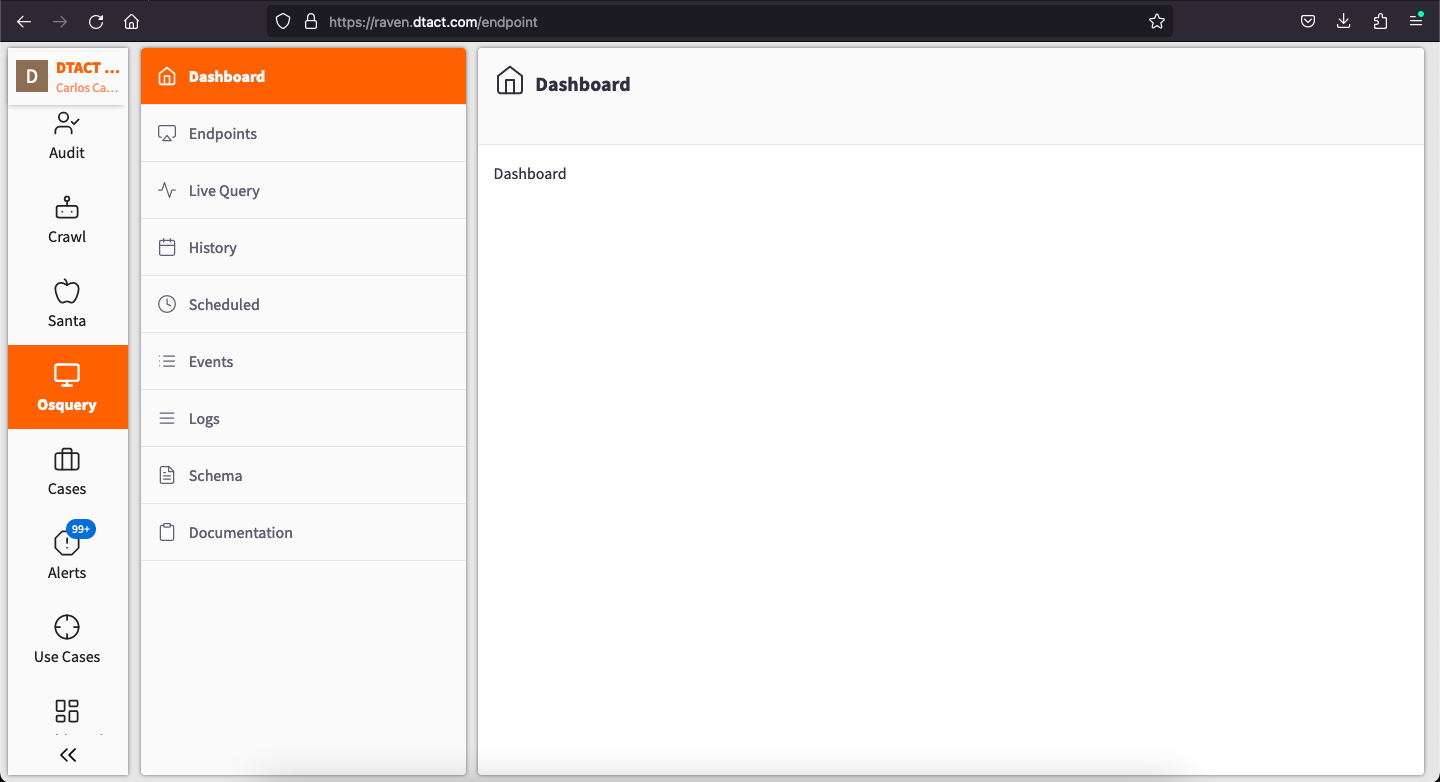
Here we have different sections to interact with, for this story we are going to focus on:
-
Endpoints: Shows us the different registered devices in our network.
-
Live Query: Used to perform queries in the registered devices.
Step 2: Selecting endpoints
Select the Endpoints section to interact with devices registered in the network.
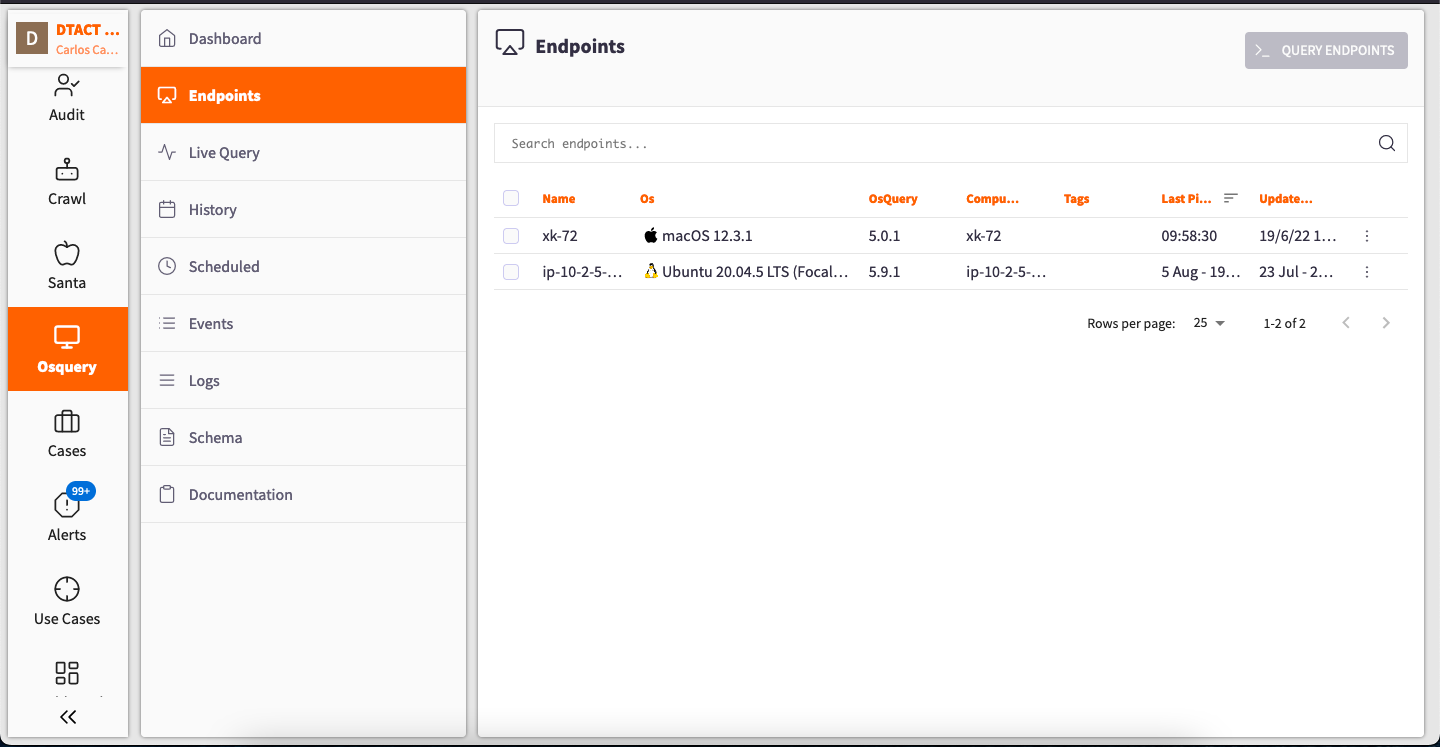
Here you can select the device you want to query in two different ways, the first one is by clicking on the square to the left and then hitting "QUERY ENDPOINTS" and the second way is by clicking the three-dotted button next to a device and choosing "Query."
Step 3: Live Query
Selecting the wanted Endpoints to query will takes us directly to the "Live Query" section of the app.
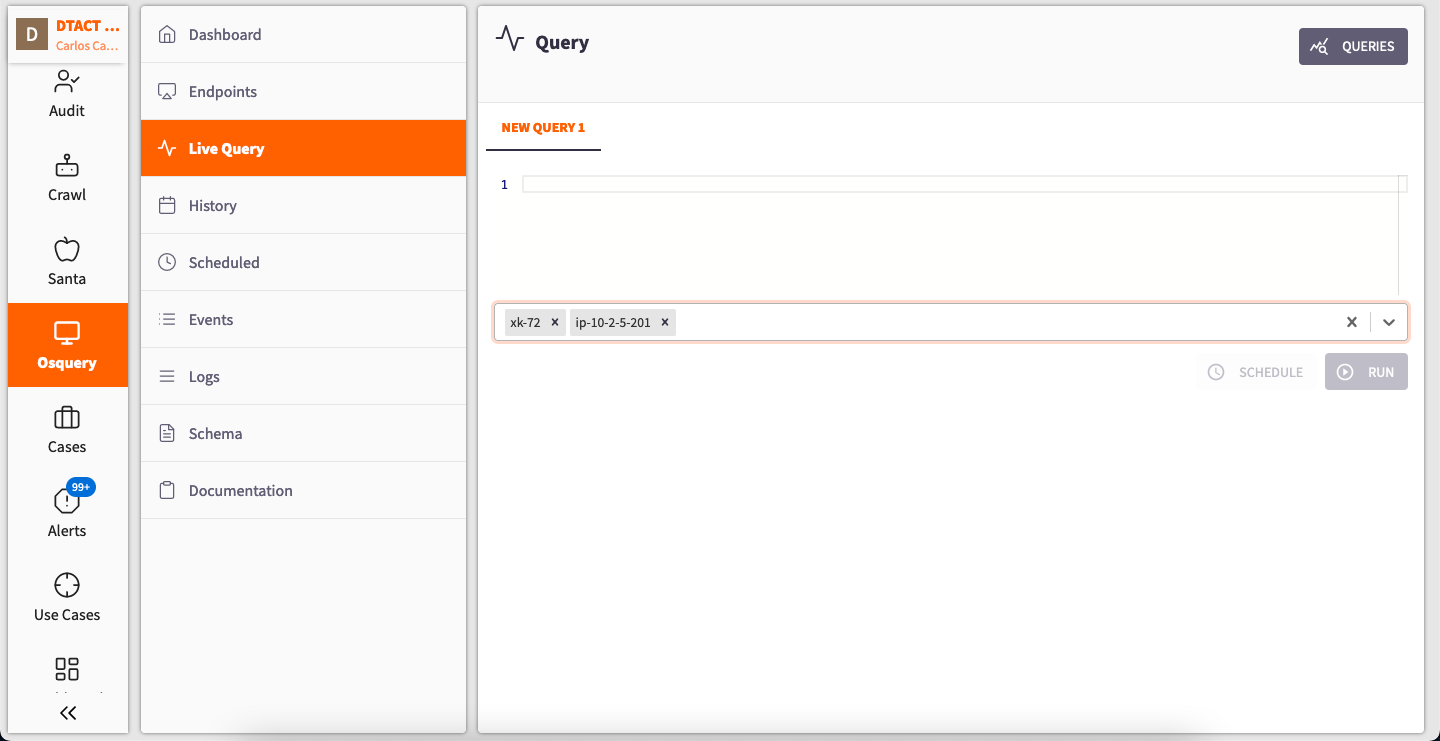
You can Query more than one Endpoint at a time.
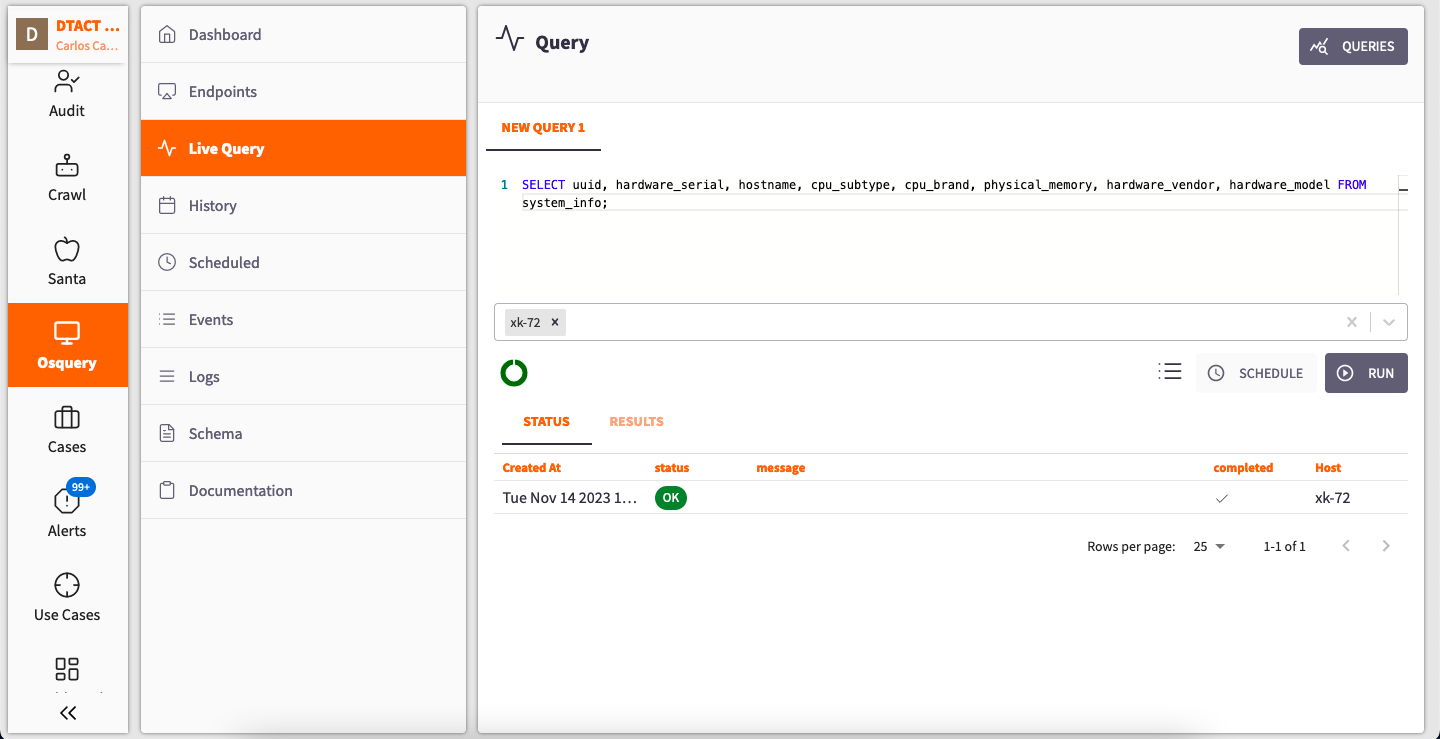
Now you can start querying the different devices. Use the "Queries" button at the top right to access predefined queries or saved tables in SQL language.
For example, selecting "collect information about the system" auto-fills the query.
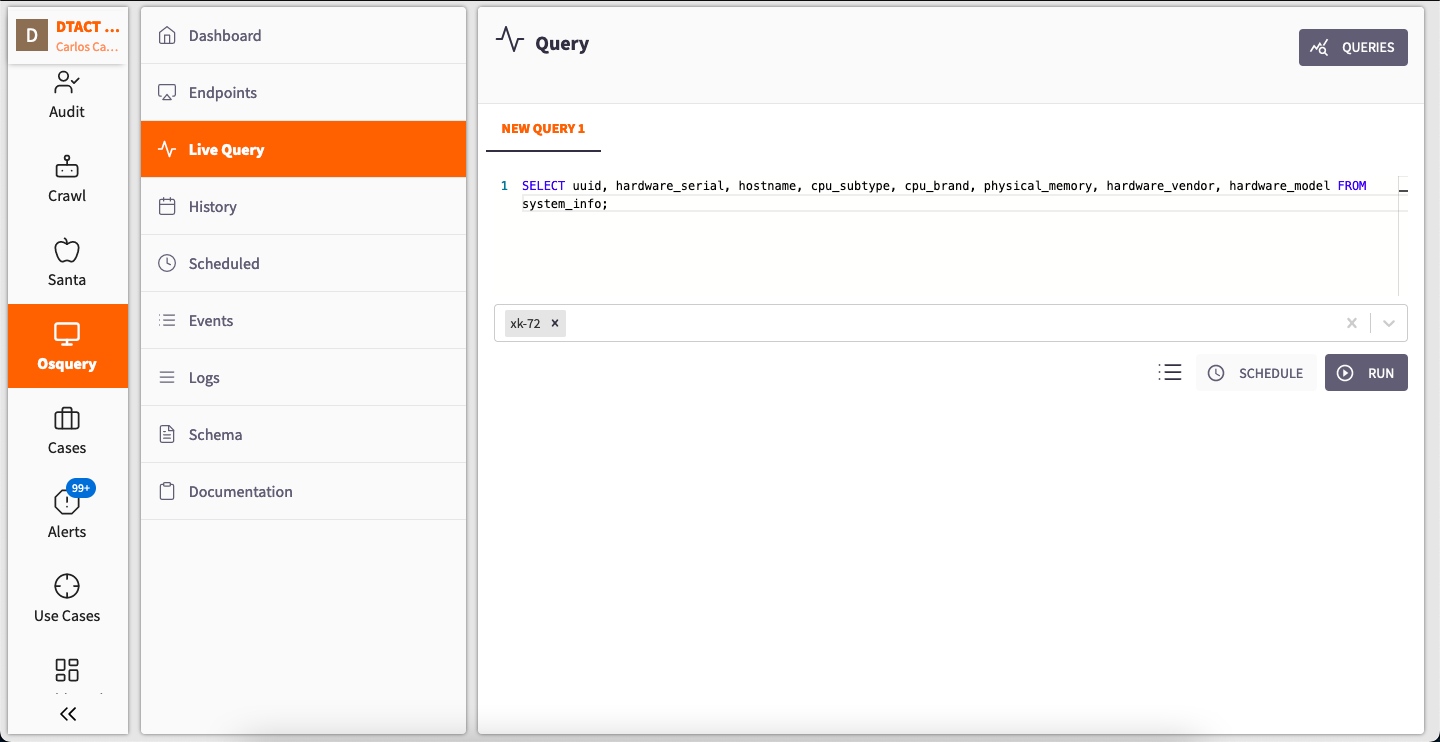
Now we have two options, we can either Schedule the Query or we can Run the query.
-
Scheduling a Query: Click on the "SCHEDULE" button located at the lower right corner and specify the query interval.
You can see all scheduled queries by navigating to the Scheduled section of the app.
-
Running a Query: Press the "RUN" button located at the lower right corner to see immediate results. Two panes will appear, the first one will show the status of your query and the second one will show the actual results.
Next to Schedule and Run, find an icon displaying the table structure.
Check the History section of the app for past queries.